Suggested words

Conservation Continues… Part Two of the Pagodas Project
Published by: Hannah Mortell
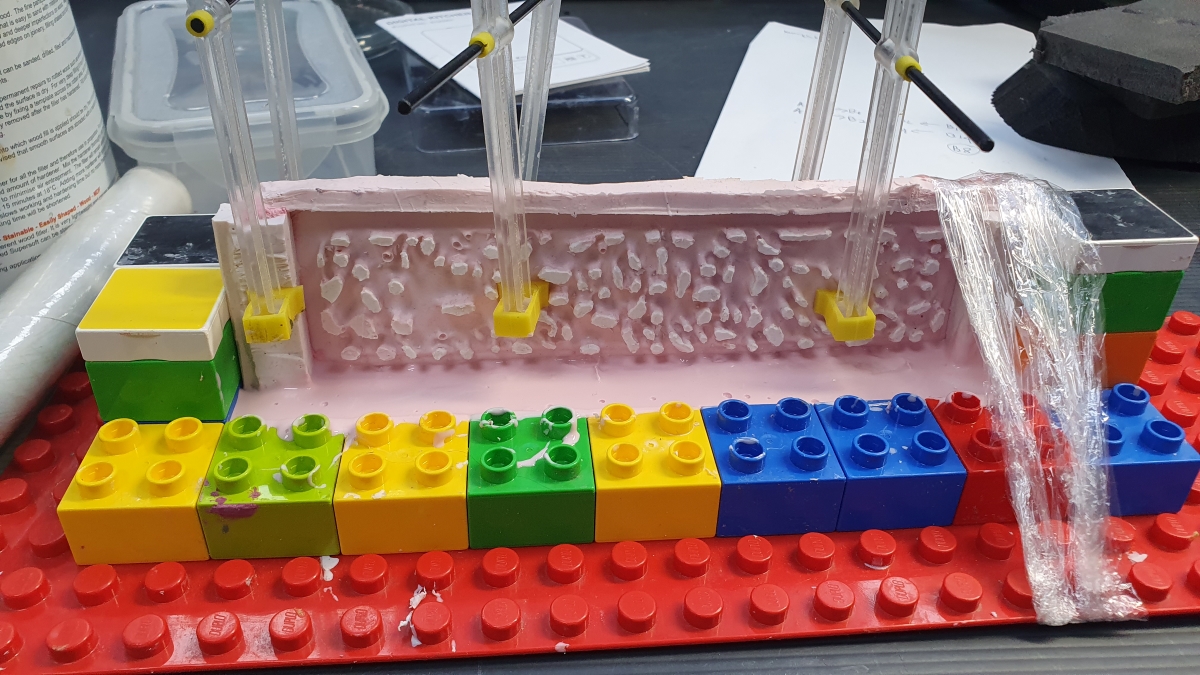
Creating the silicone rubber moulds

A few months ago, my colleague Ana introduced our Pagodas Project which started in November 2021. You can follow the link here to read ‘Introducing the Pagodas Project’ to follow the conservation journey of the Pagodas from the beginning and see where we left off last time. Since then, work has been progressing through several stages.
Creating the silicone rubber moulds
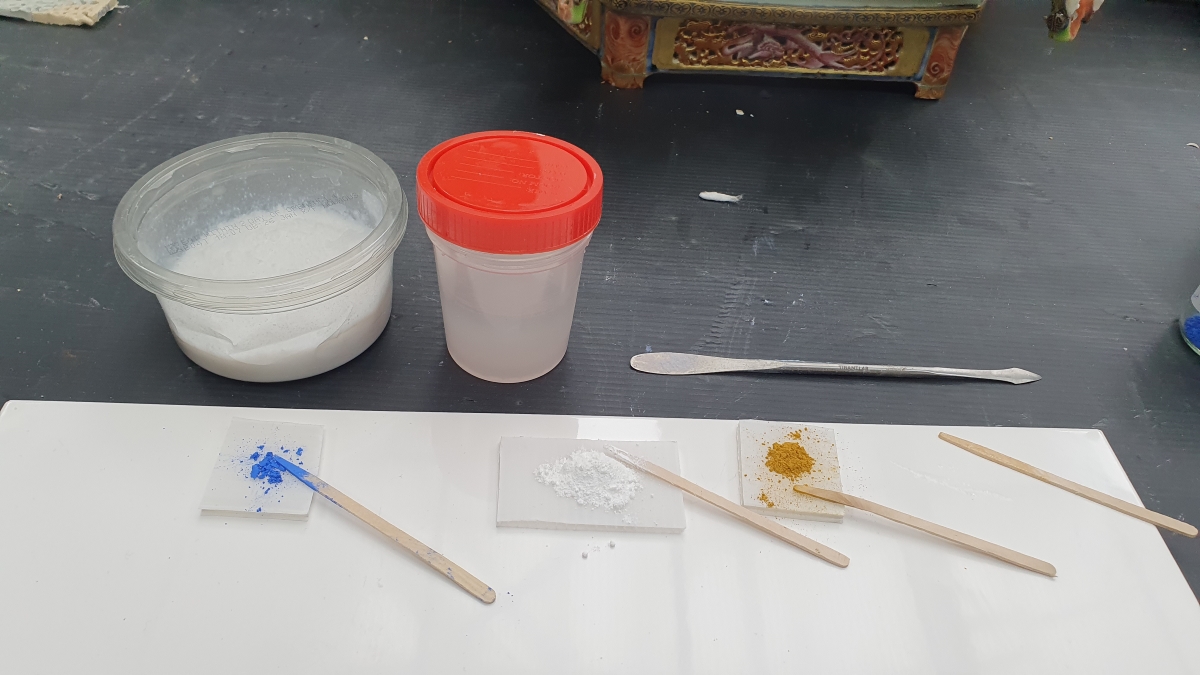
Ingredients for our epoxy casting mix ‘recipe’. Fumed silica, Hxtal epoxy, Cobalt Blue pigment, Titanium Dioxide, Yellow Ochre pigment

The last thing Ana showed was our creation of silicone rubber moulds, which allowed us to cast epoxy replicas of the complex balustrades, so the missing pieces can be replaced and rebuilt.

The process of creating the epoxy casting mix involved a lot of experimenting, but we eventually devised a recipe we could recreate to give us a consistent result which looked as similar to the porcelain as we could get it. This recipe consisted of a ratio of Hxtal epoxy, fumed silica to give bulk to the mixture, and powder pigments Titanium Dioxide, Cobalt Blue and Yellow Ochre.
Ingredients for our epoxy casting mix ‘recipe’. Fumed silica, Hxtal epoxy, Cobalt Blue pigment, Titanium Dioxide, Yellow Ochre pigment
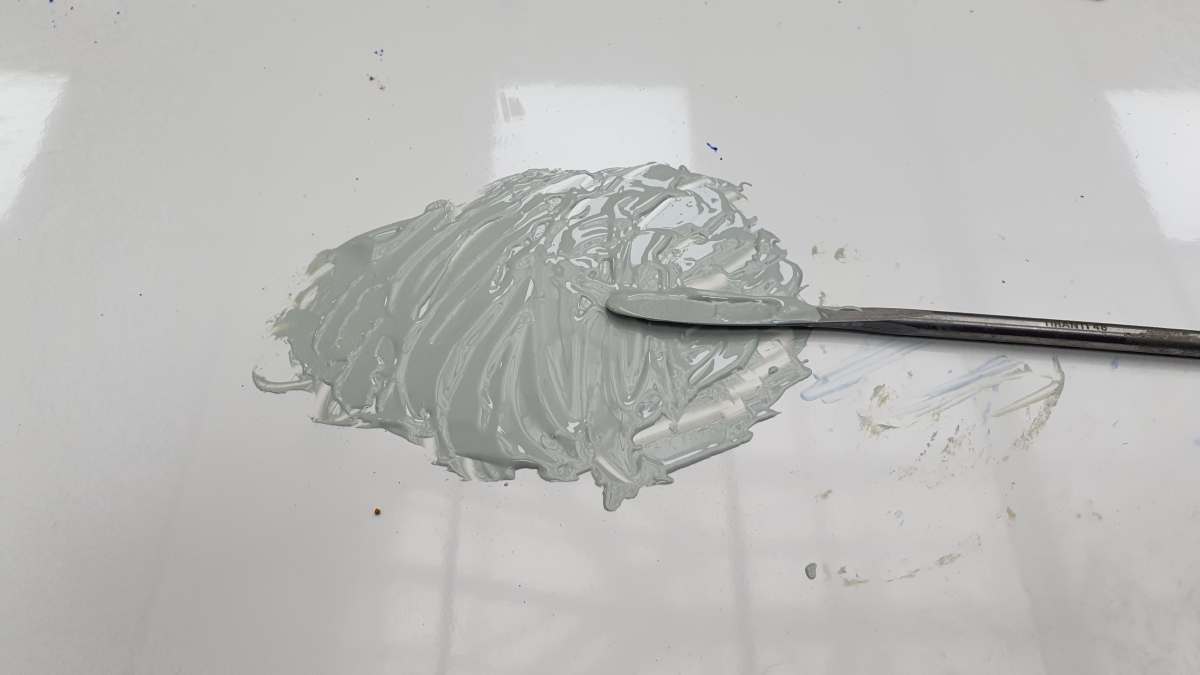
All the ingredients mixed together, having ground down the pigments using a spatula

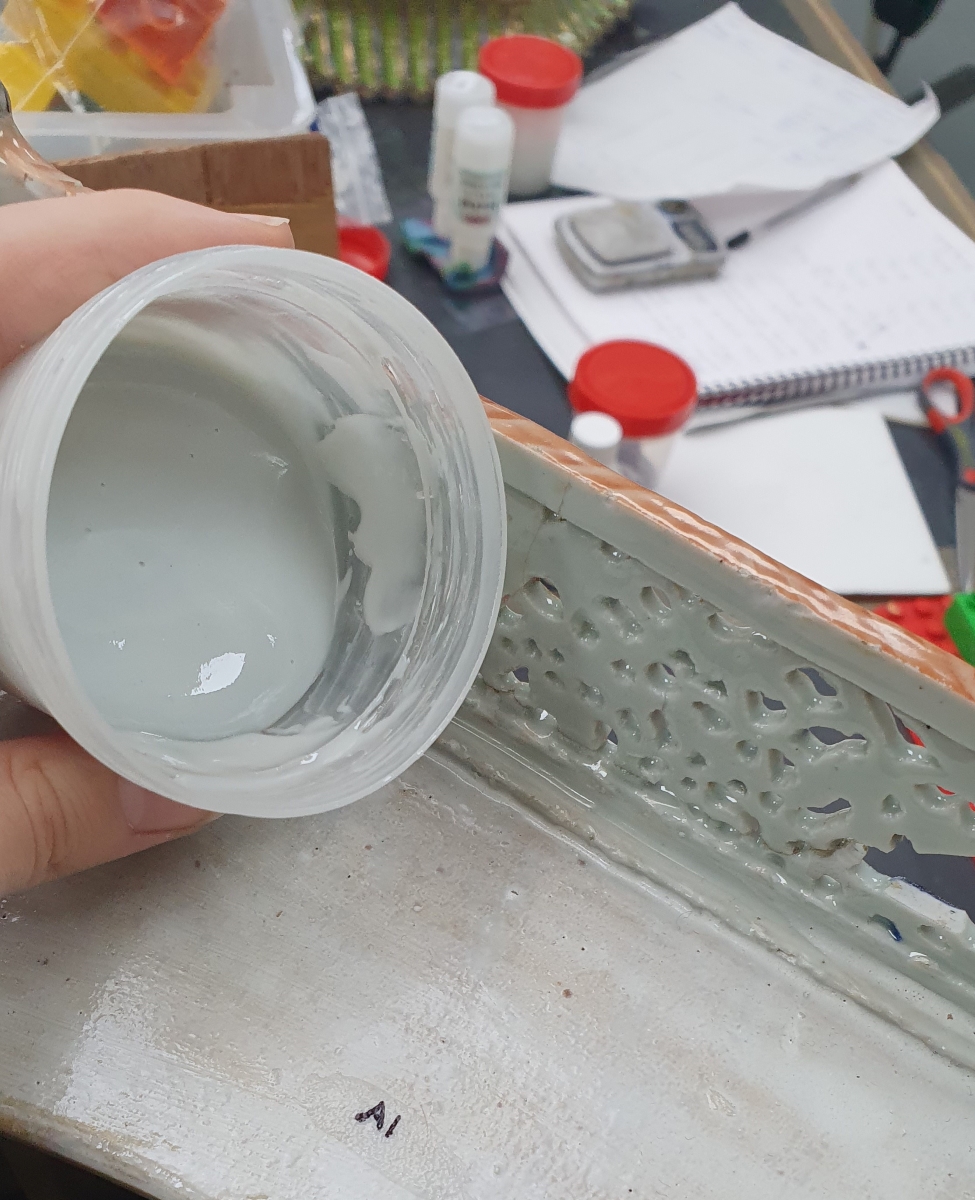
The aim with this coloured epoxy fill was to match the colour of the porcelain with the bluish glaze covering it, so that we could leave portions meant to appear as bare porcelain, unpainted.
All the ingredients mixed together, having ground down the pigments using a spatula
Colour matching the coloured epoxy mix to the porcelain
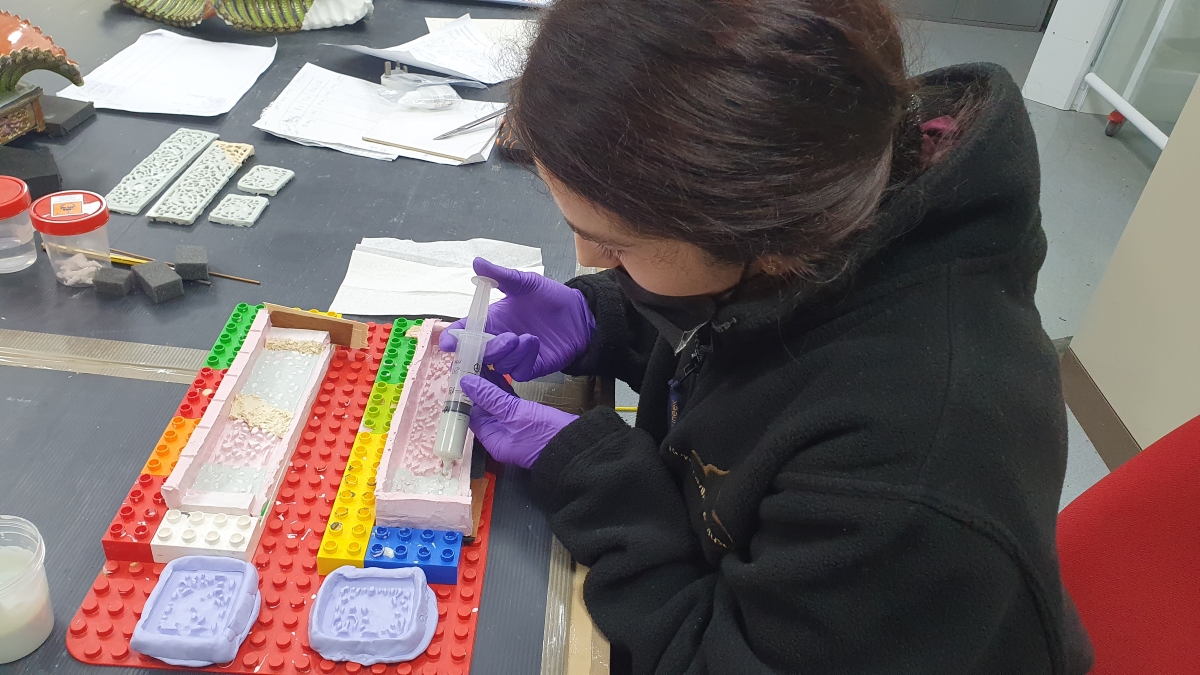
Bernarda filling the moulds using a syringe

Once the desired colour and viscosity was achieved, the Hxtal epoxy Part B activator was added to the coloured mix, which would start the 7 day curing time. We filled the moulds with the epoxy mix using a syringe to limit air bubbles being trapped within the cast.
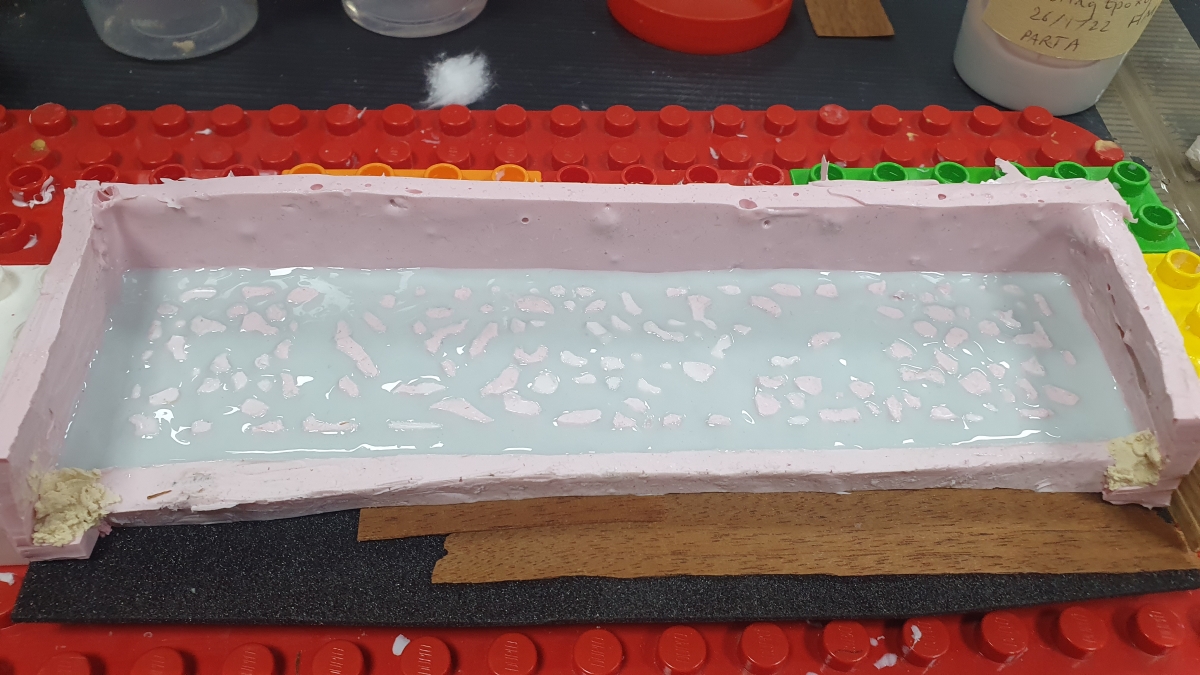
Bernarda filling the moulds using a syringe
The complete epoxy casting mix curing inside the mould
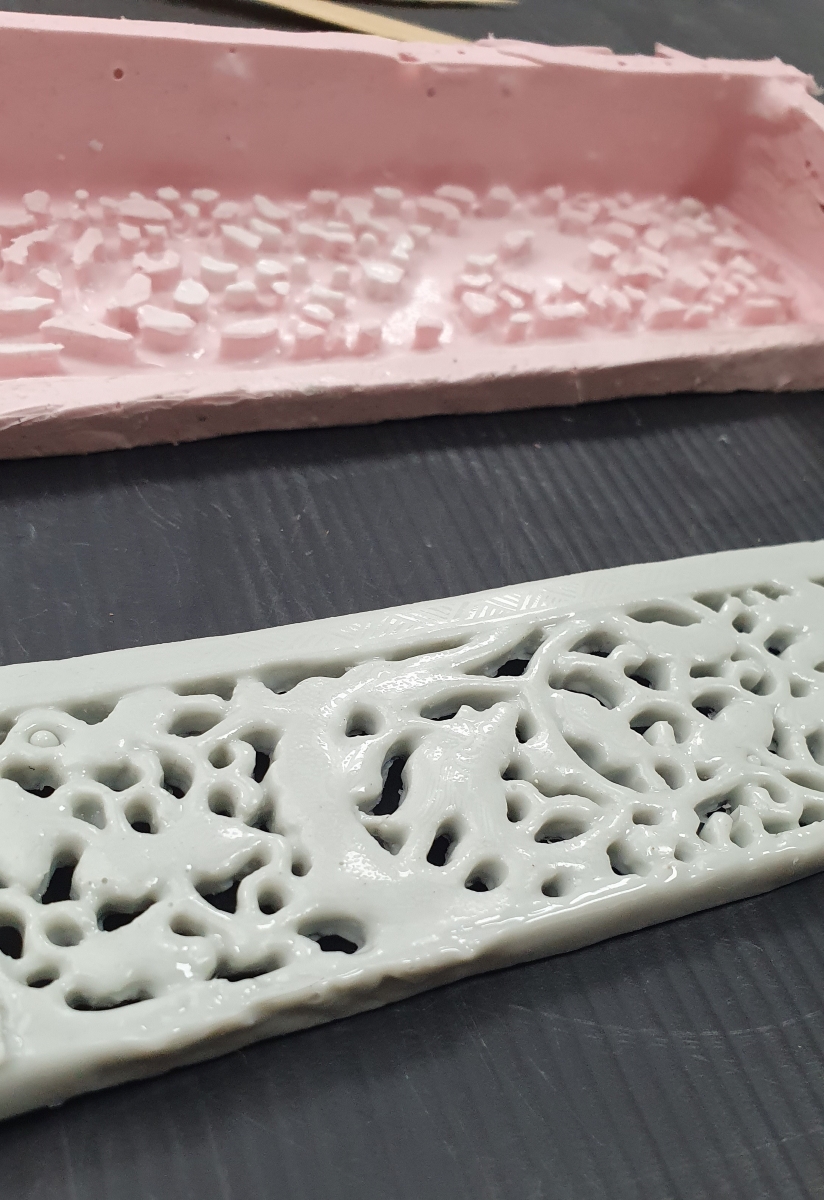
The cured cast removed from the mould

After 7 days the casts were ready to be removed from the moulds, showing a very fine level of detail retained, down to the painted decoration of the ceramic being retained and visible.  This is due to the liquid silicone rubber the moulds were created from being able to capture every detail. The casts were then able to be placed into the missing gaps to imagine what they will look like when refined to fit and attached at a later date.
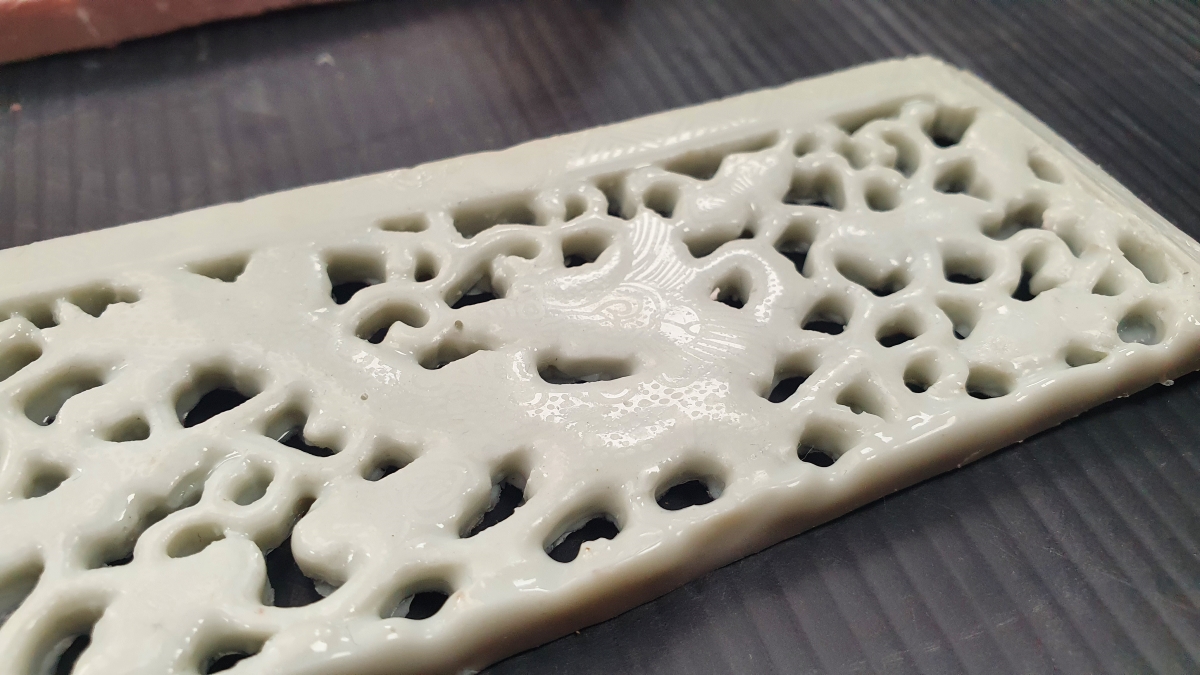
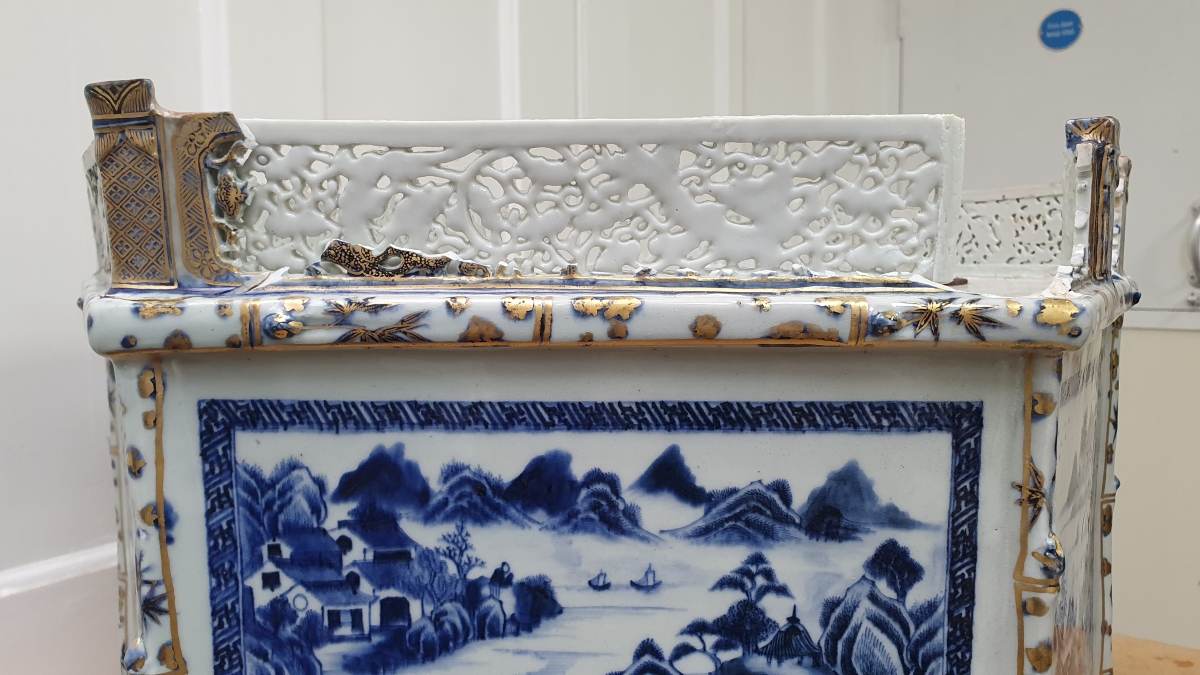
The cured cast removed from the mould
Close up of the cast showing the fine detail of the painted dragons retained
The completed cast placed where it will soon be refined to fit and attached
The back view of the unrefined cast placed next to the porcelain
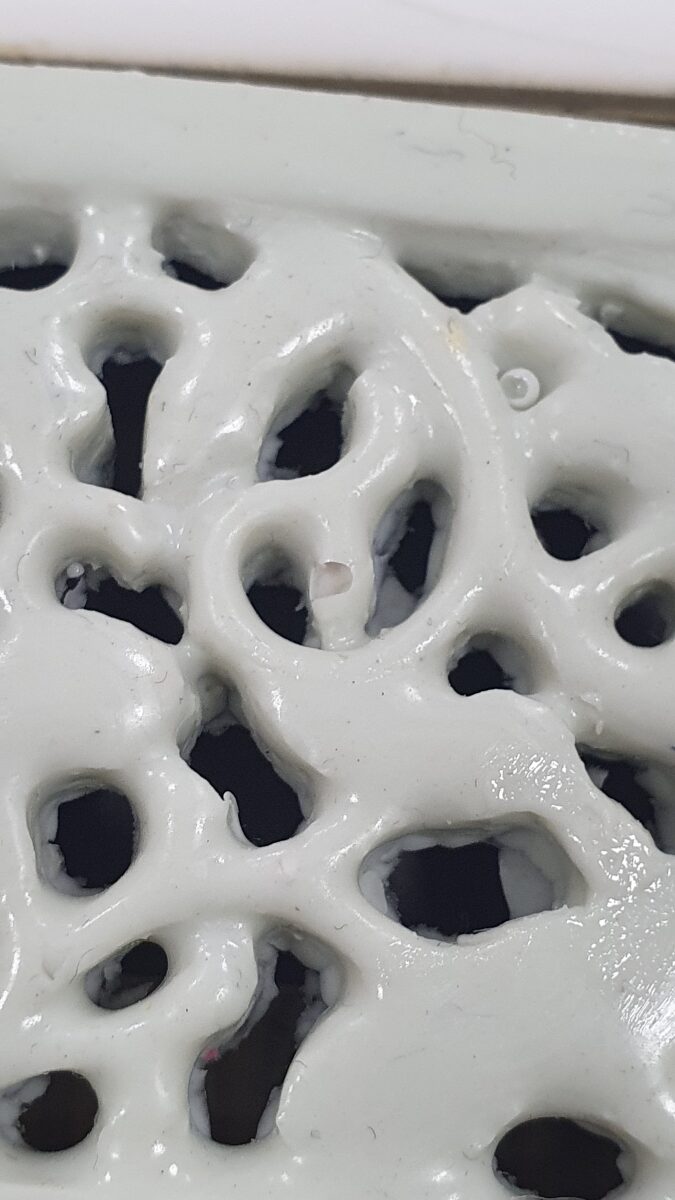
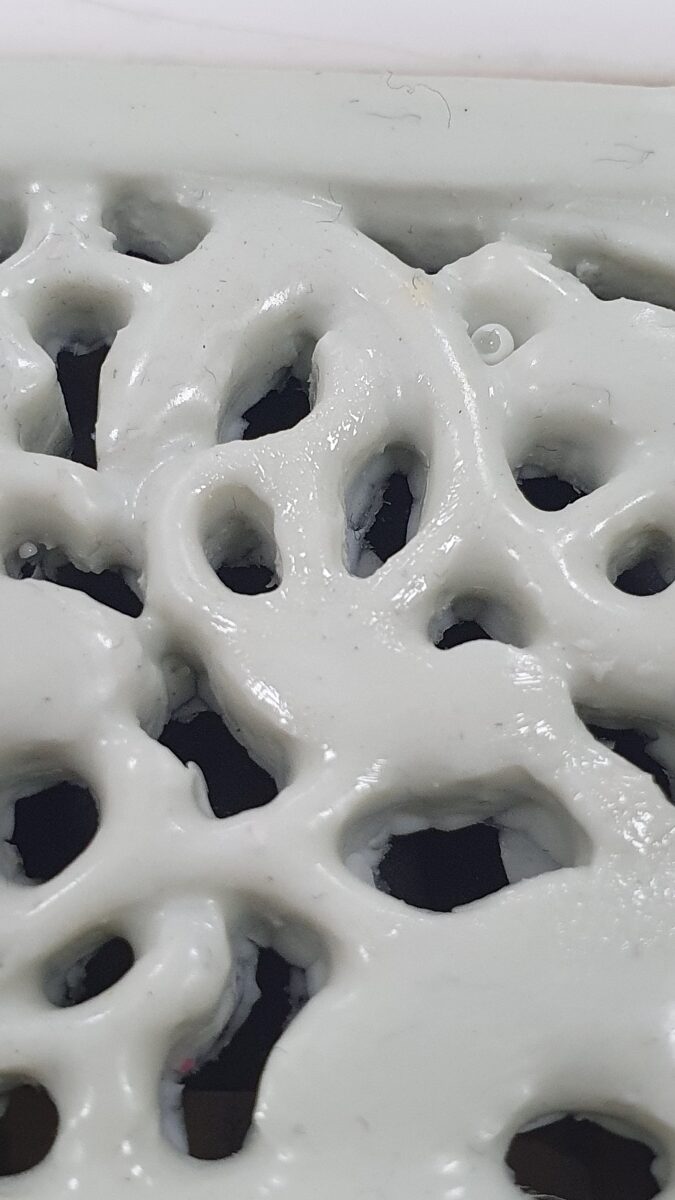
Before filling an air bubble in a cast with extra epoxy to refine the finish
After filling an air bubble in a cast with extra epoxy to refine the finish
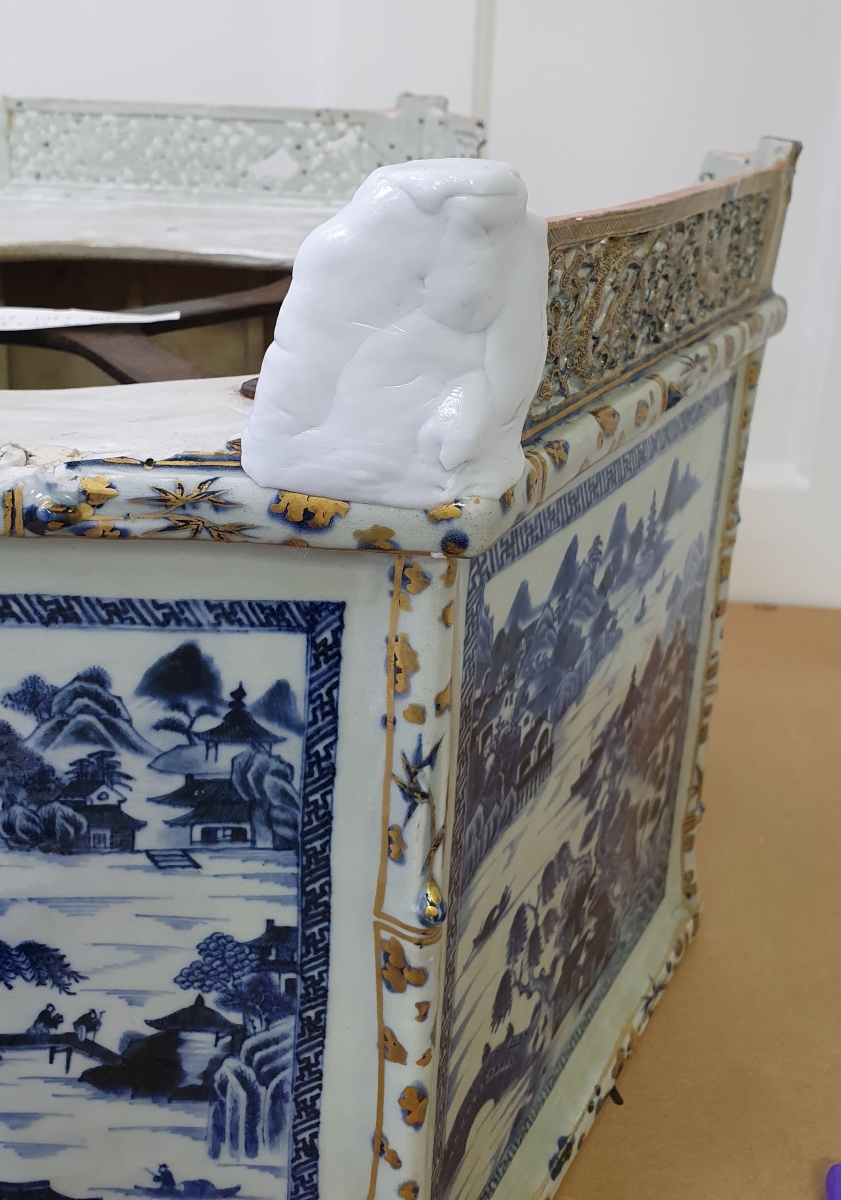
Moulding the corner column using sil-hand

The next challenge of moulding and casting we encountered was how to replicate the corner columns that connect the balustrades. We used a different mould making technique due to needing the columns to be more three-dimensional rather than the flatter balustrade casts. We used Sil-Hand, a malleable putty silicone medium which is activated by kneading equal parts of A&B and placing it around a complete column. This medium is much faster to create a mould – only having a cure time of around 10 minutes as opposed to the 3 hours of the silicone rubber previously used – but it also does not give the same fine level of detail.

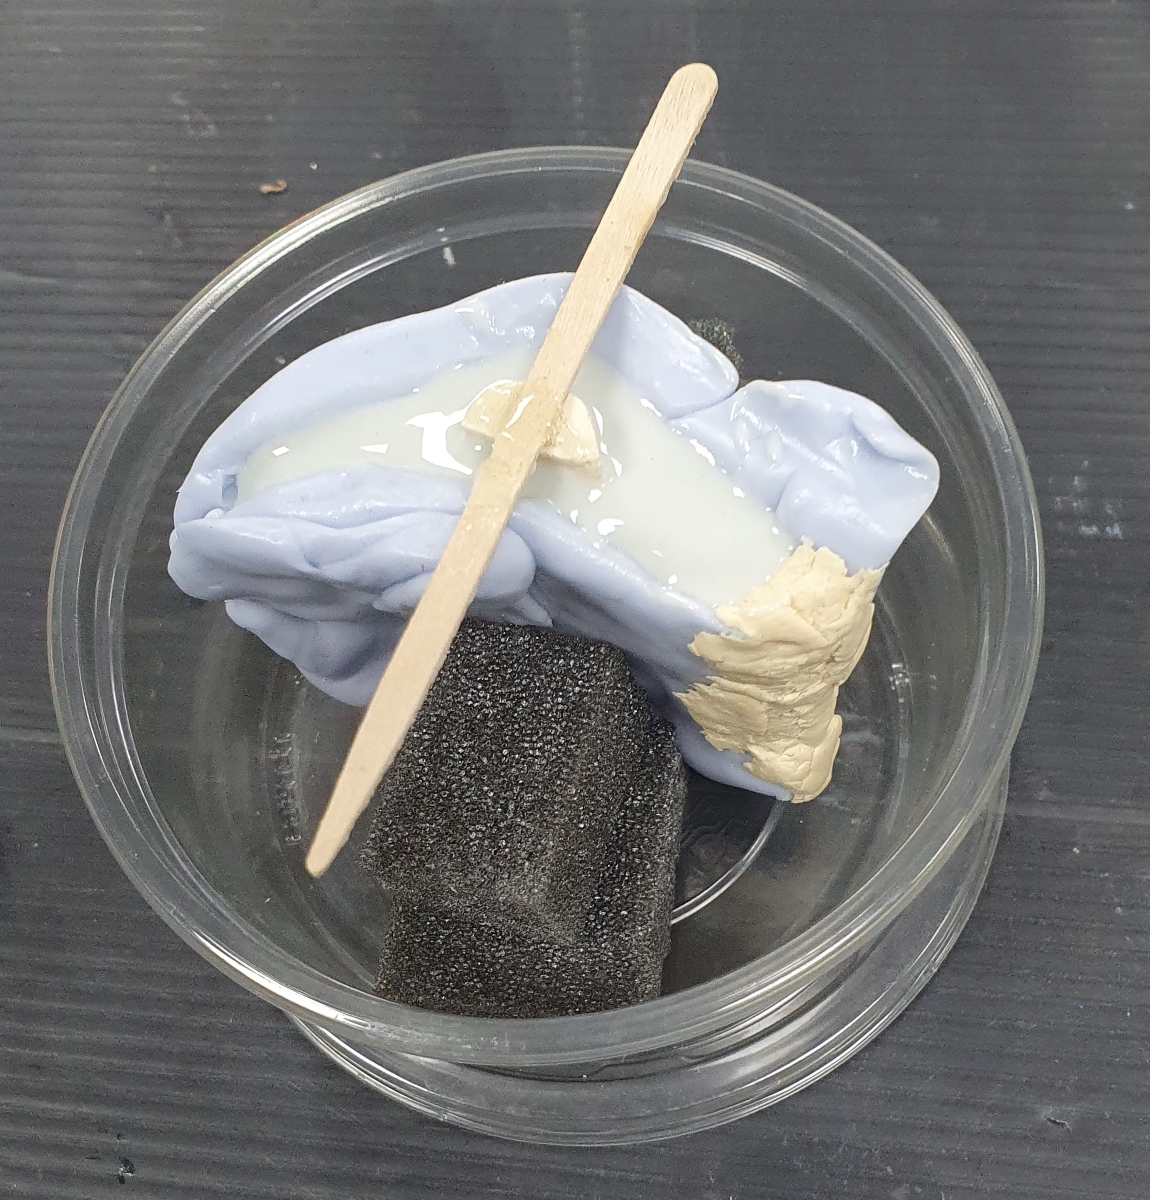
Moulding the corner column using sil-hand
The column mould filled with our casting epoxy, and a core of polyester resin suspended from a wooden stick to keep it in place

To save on the amount of our coloured epoxy used per column, and to keep the weight of the cast lighter, we inserted a core of polyester resin into the mould before filling, again using a syringe. This core also aids in making it easier to drill out a hole in the top of the columns, which will be necessary to locate fixing rods from and will eventually house the ornamental Kylins.

The result needs some refinement but is a good base to support our created balustrades.

The column mould filled with our casting epoxy, and a core of polyester resin suspended from a wooden stick to keep it in place
The resulting corner column cast, front, before refinement
The resulting corner column cast, back, before refinement
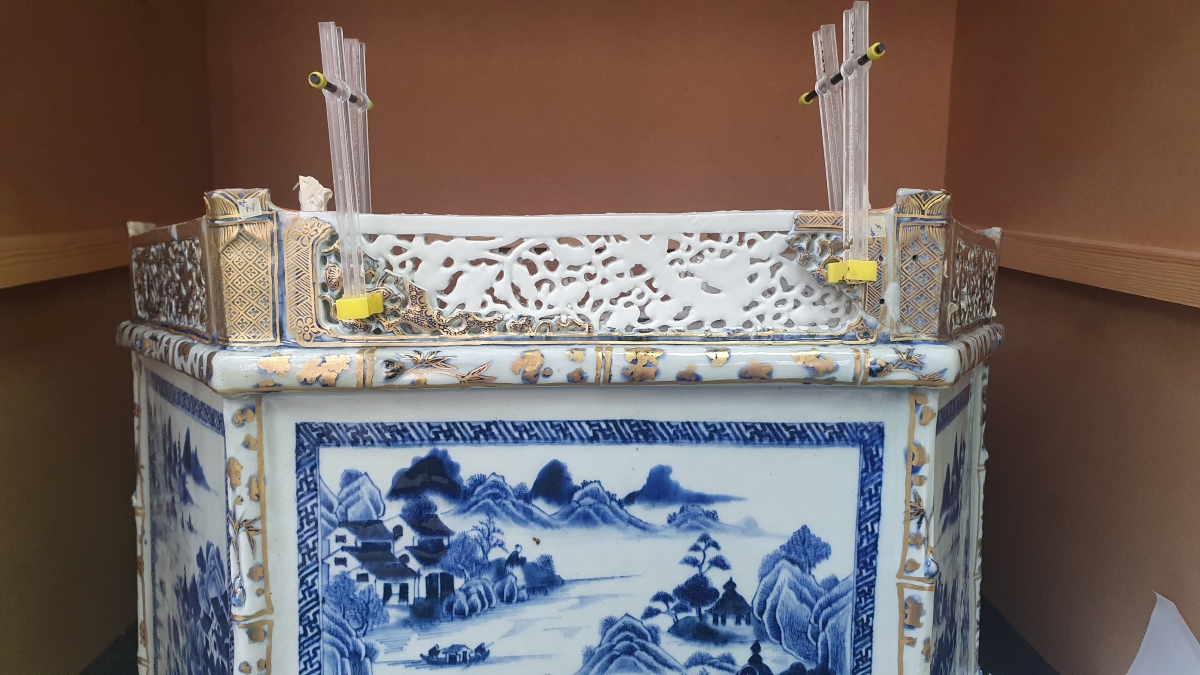
Clamping a cast to the broken balustrade piece to mark where it should fit

All together we cast 23 epoxy balustrades and columns, and the next stage was to refine and shape them to fit the broken remnants on the pagodas.
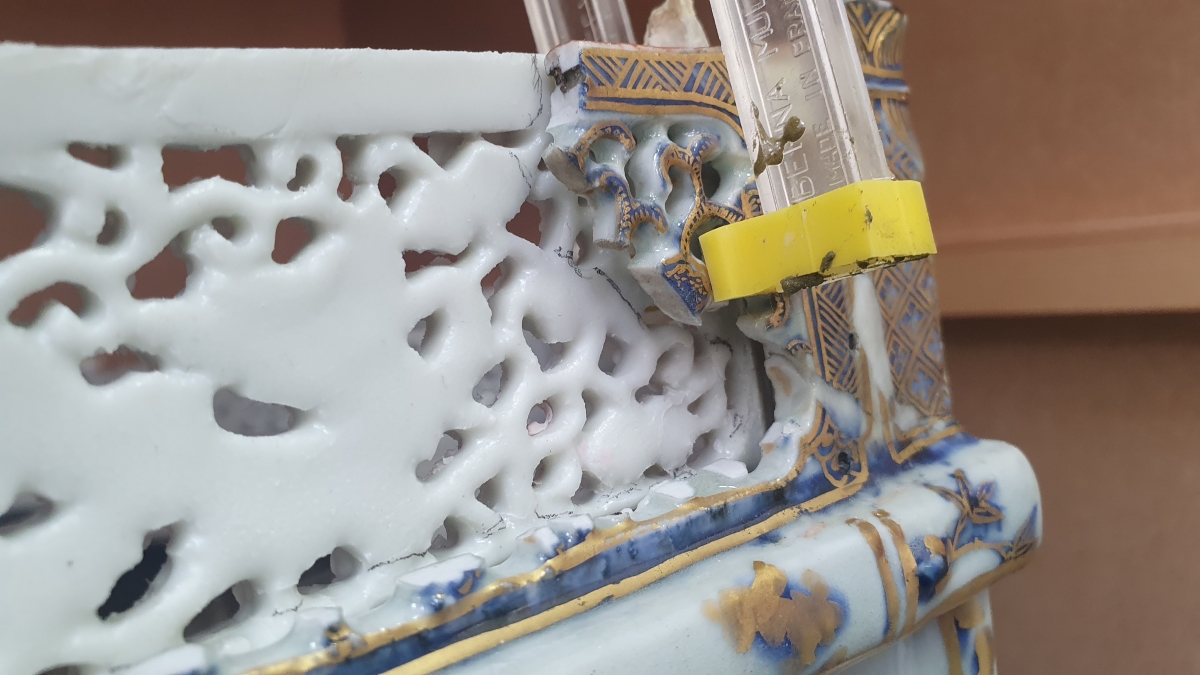
Clamping a cast to the broken balustrade piece to mark where it should fit
Close up of the pencil marks where the cast will be cut

We did this by marking where we needed to remove material, then, using a Dremel under extraction to protect us from inhaling any fine dust, the excess material was carved away.
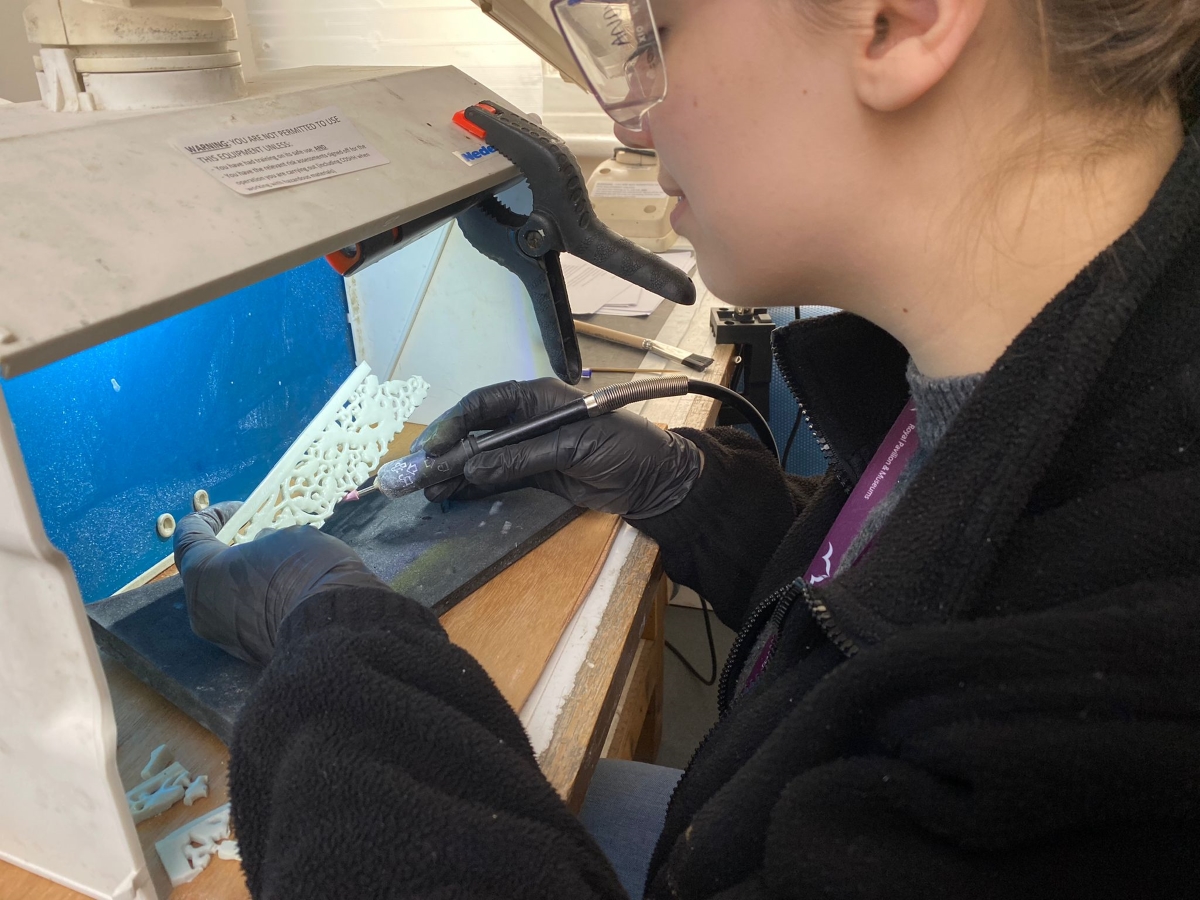
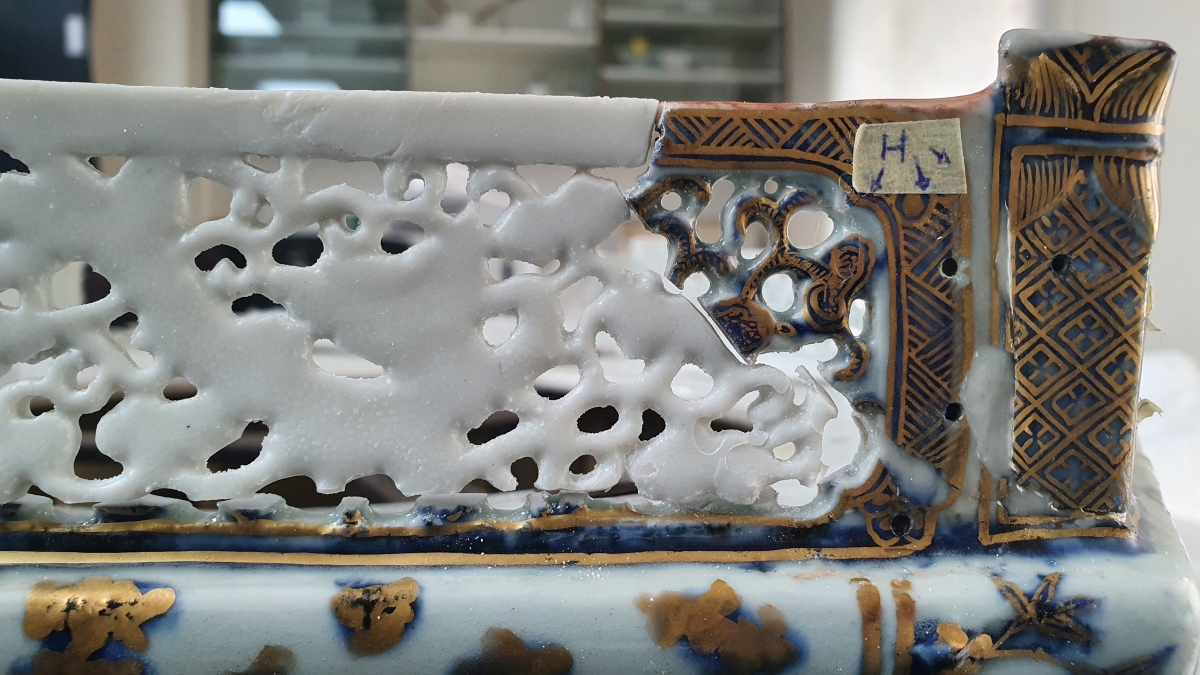
Close up of the pencil marks where the cast will be cut
Hannah using the Dremel to carve away the excess epoxy
Partially fitted cast. The small remaining gaps will be filled later with more epoxy

Due to the handmade nature of the porcelain Pagodas, all the pieces are unique and so fitting the casts into place can be complicated. Thankfully, due to the long curing time of the epoxy we were able to slightly manipulate the casts using heat to allow them to be bent and moulded if there was a slight variation of position per piece.
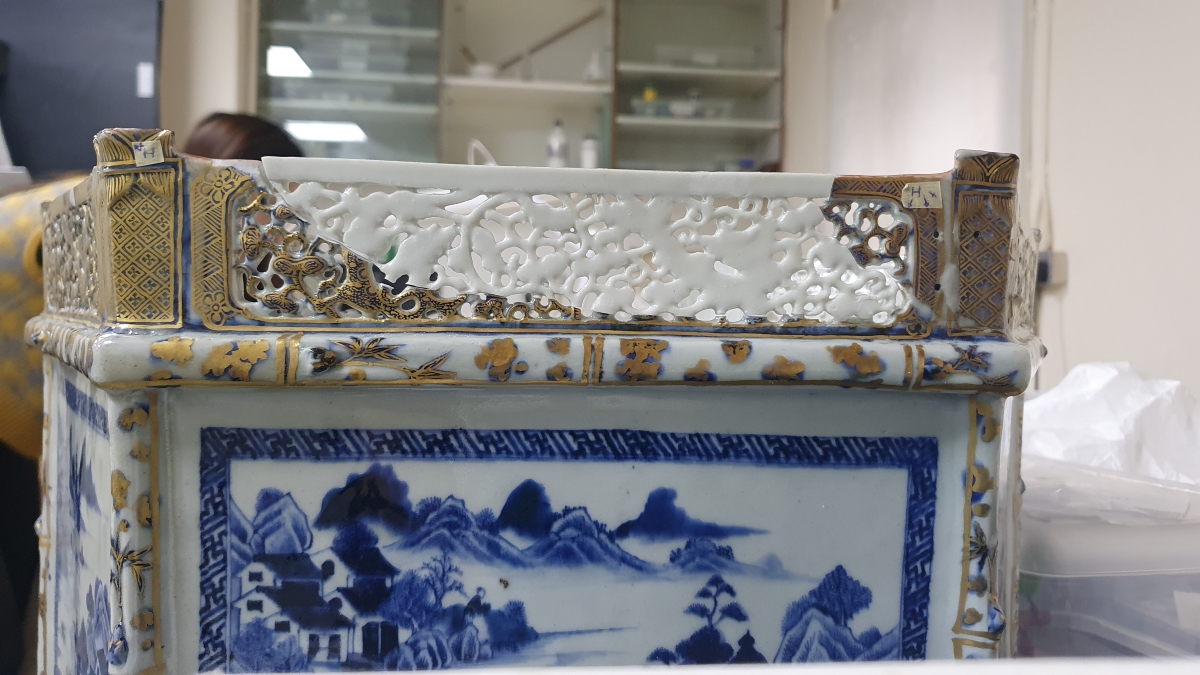
Partially fitted cast. The small remaining gaps will be filled later with more epoxy
Cast fully fitted and ready to be attached
Beginning to rebuild

This stage of the project has been exciting as it is the first time we have had a sense of what the fully restored tiers may look like. The next part of the project will be the re-building stage, where we will attach the fitted and refined casts to the porcelain, adhere them in place and fill the gaps with epoxy putty to smooth everything out. Stay tuned for our next blog explaining that process, until then, here’s a sneak peek!

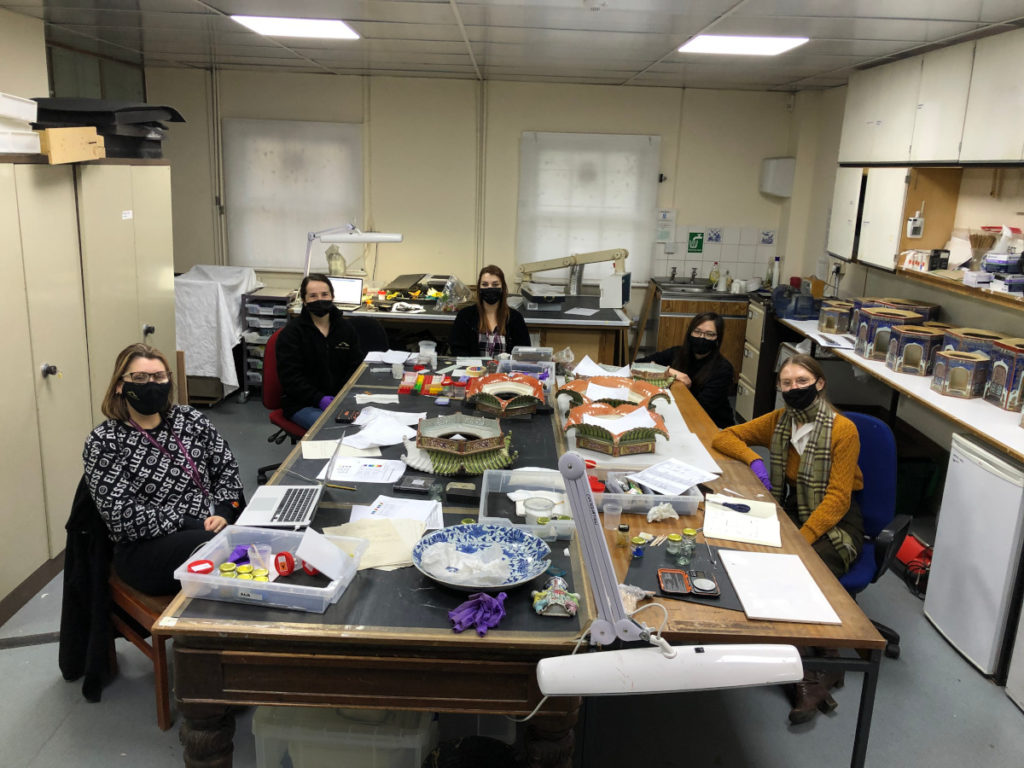
Beginning to rebuild

Pavilion Spotlight: Pagodas

Between December 2021 and September 2024, the Royal Pavilion pagodas underwent a significant restoration project