Bringing A Shine Back to the Table Decker’s Room – A Graduate Conservator Project Update
Dominic Oakes – Conservation Assistant and Graduate Conservator, continues a series of blog posts from the Graduate Conservators at Brighton & Hove Museums.
Their last update followed them at Preston Manor and Hove in Preparing Preston and Fungi on Film. Since then, they’ve turned their attention to the Decker’s Room in the Royal Pavilion. Read on to find out more.

Since my last blog post I have begun another conservation project in the Royal Pavilion; cleaning, polishing and lacquering the silver that is on display in the Table Decker’s Room.
Before carrying out the treatment on these objects, I researched and tested different methods of cleaning that will give an end result that I feel is the most appropriate.
Currently most of the silver is covered by tarnish, giving it a dull and darker appearance. I am aiming to remove this tarnish in a way that is least damaging to the object and still retaining values that I believe are important to them, such as engravings and evidence of manufacture.
Mechanical cleaning for silver is commonly done with a silver polish cloth or paste, containing very fine abrasive powders. Repeated circular motion erodes the tarnish on top of the silver, revealing the shiny surface beneath. However, some of the top layers of silver are also lost in the process so it is necessary to get the balance right of removing tarnish while removing minimal silver.
Some abrasives can also be too harsh and lead to scratching of the surface, some of which are visible to the naked eye but many more under magnification.

I tested using a silver polish cloth (cut into small squares) and closely inspected identifiable areas on test silver – photographing it before and noting the pattern of scratches. I then polished the area for set amounts of time before inspecting it again to determine if the tarnish was removed and if it had left new scratches.
A similar method was tested using a silver polish paste, which works in a similar manner but leaves residues on the surface as it hardens, which must be removed.
Both methods were found to be effective without causing new scratches, with the cloth working best for flat areas and the paste generally working better for recesses.

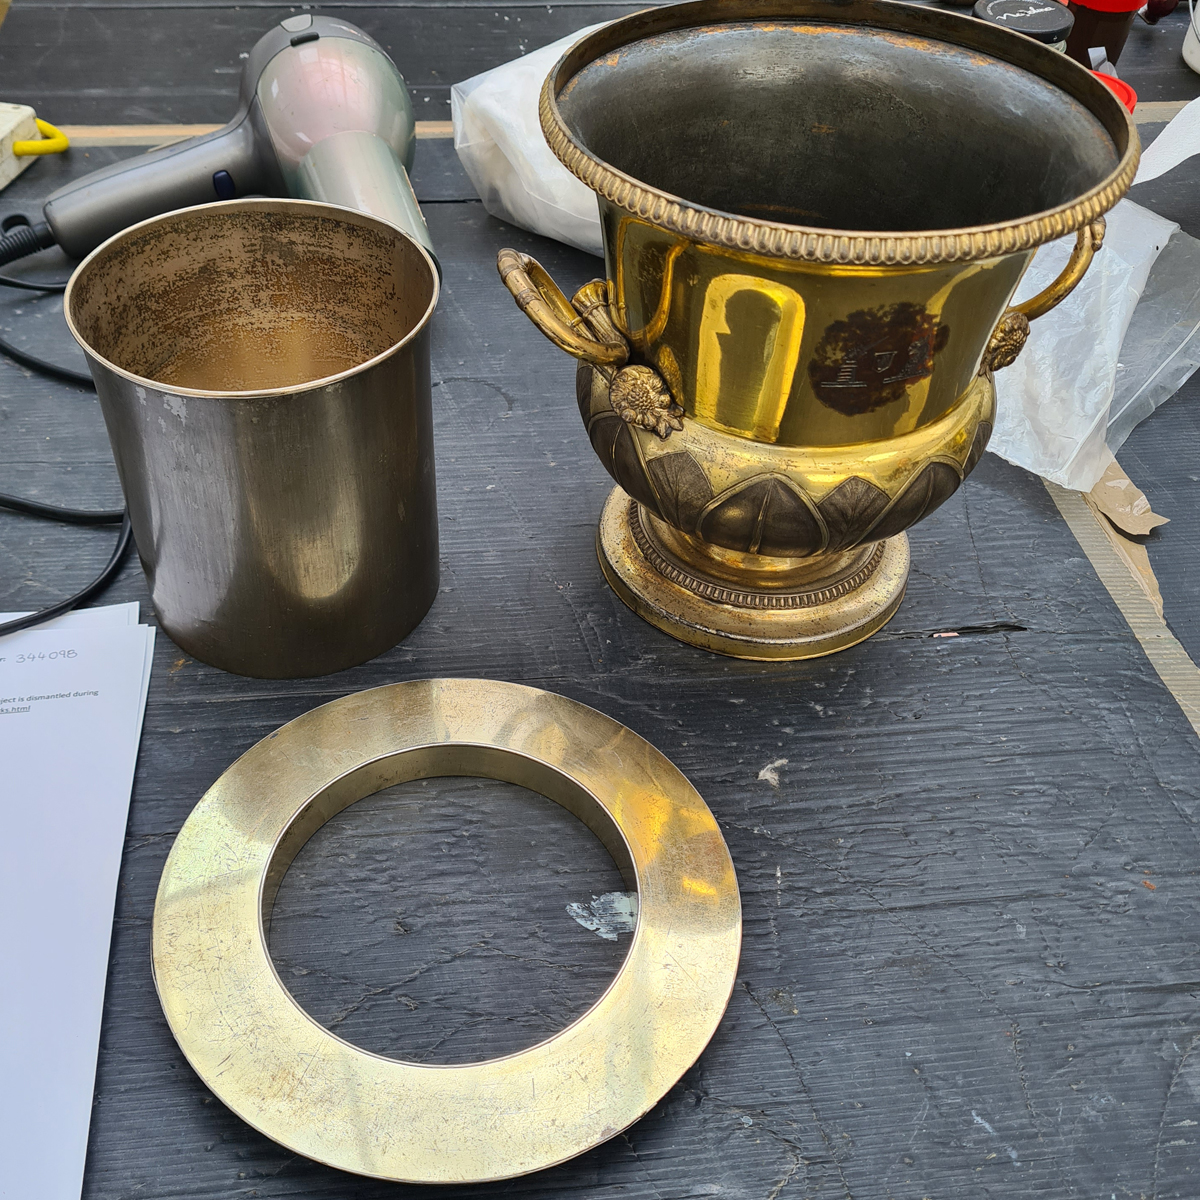
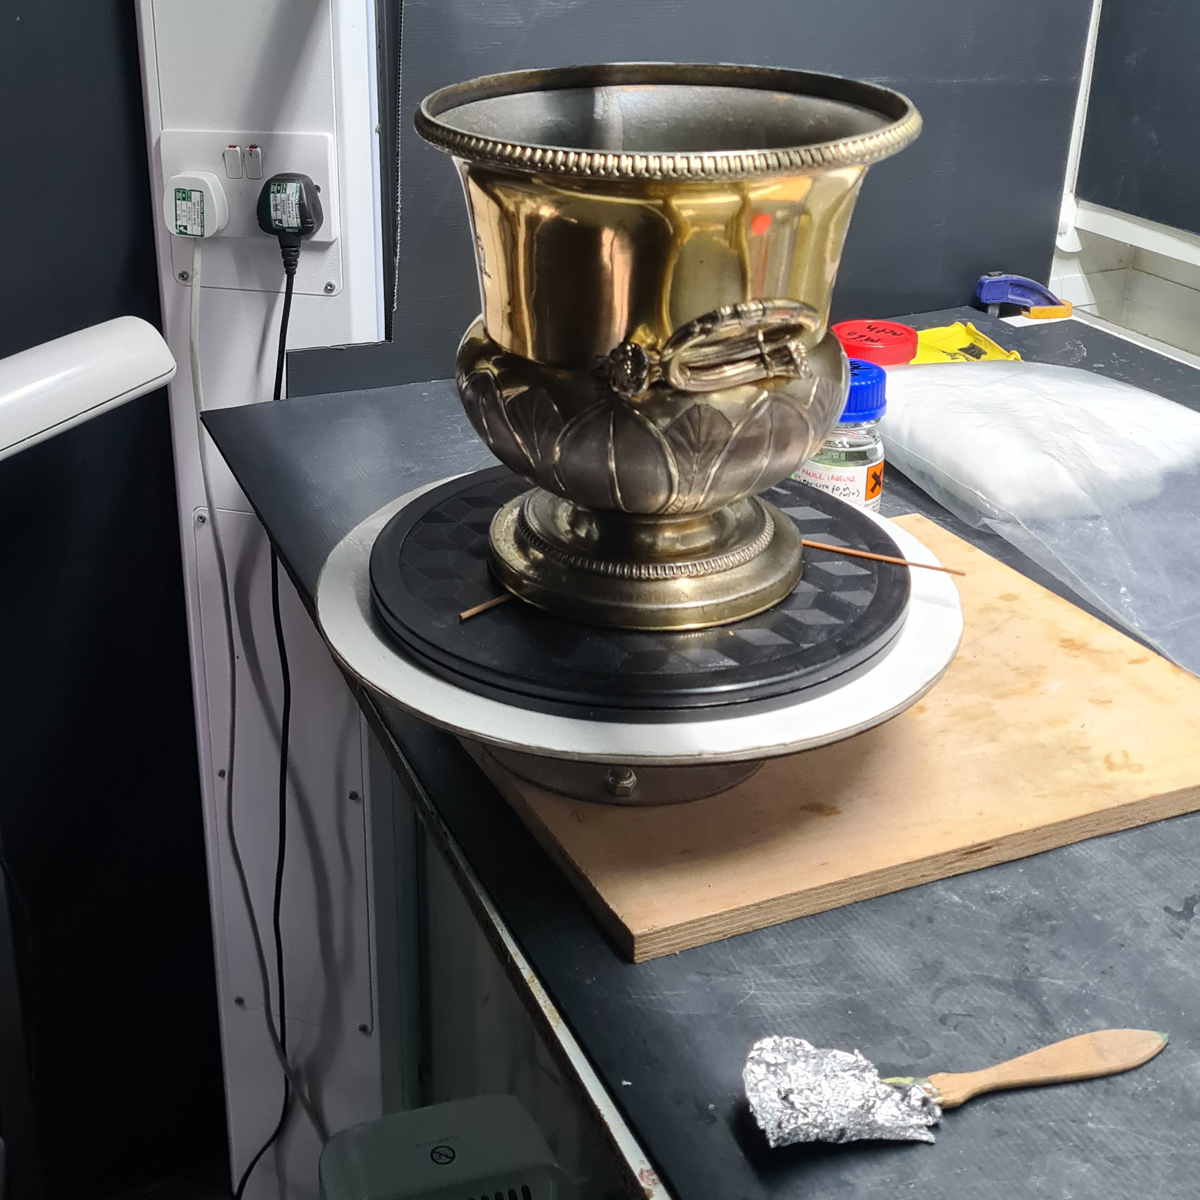
Different testing was done on a gilt wine cooler with chemical cleaning – using chemicals in a controlled way to remove the tarnish.
In this instance, Silver Dip thickened with Xanthan gum was brushed on the surface in sections. It then has several stages of rinsing to make sure no residue from the chemicals is left on the object.
This method gives a very fast improvement to the appearance. However, with the additional time taken to ensure it is rinsed correctly, it takes considerable time to be done safely for the object.

After being cleaned, the object then required lacquering.
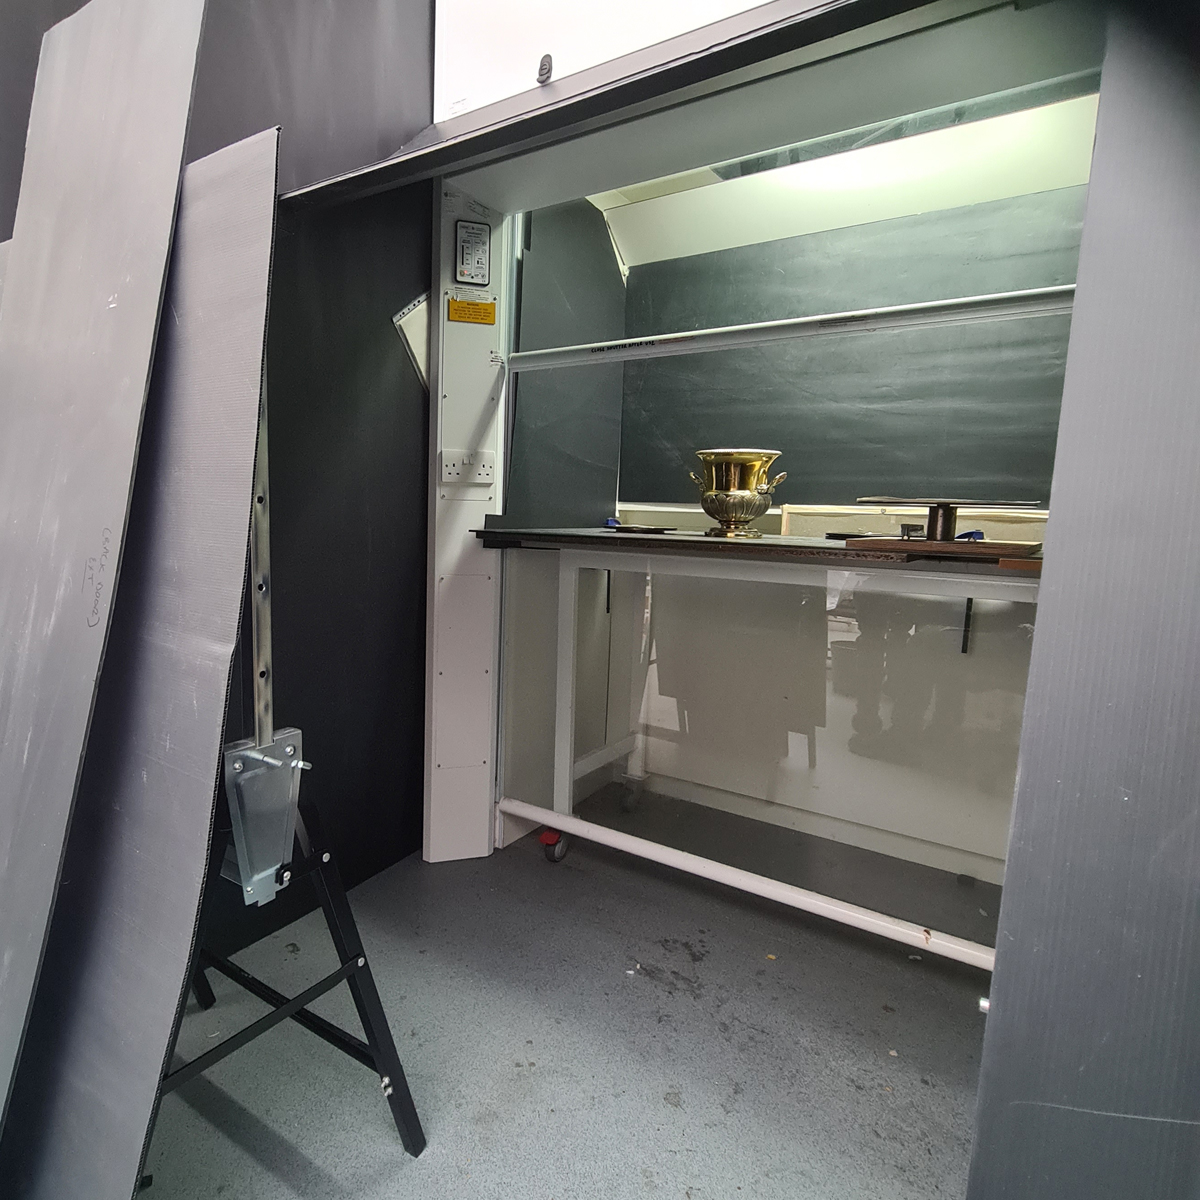
The first step was to create “The Cave” around the fume cupboard (Pictured is the cave while open, but whilst in use it is entirely closed off).
Next, the lacquer was applied evenly to the wine cooler, making sure to coat the entire surface with no gaps. Failing to do so will cause certain areas to tarnish faster than others, creating a very obvious visual distraction.
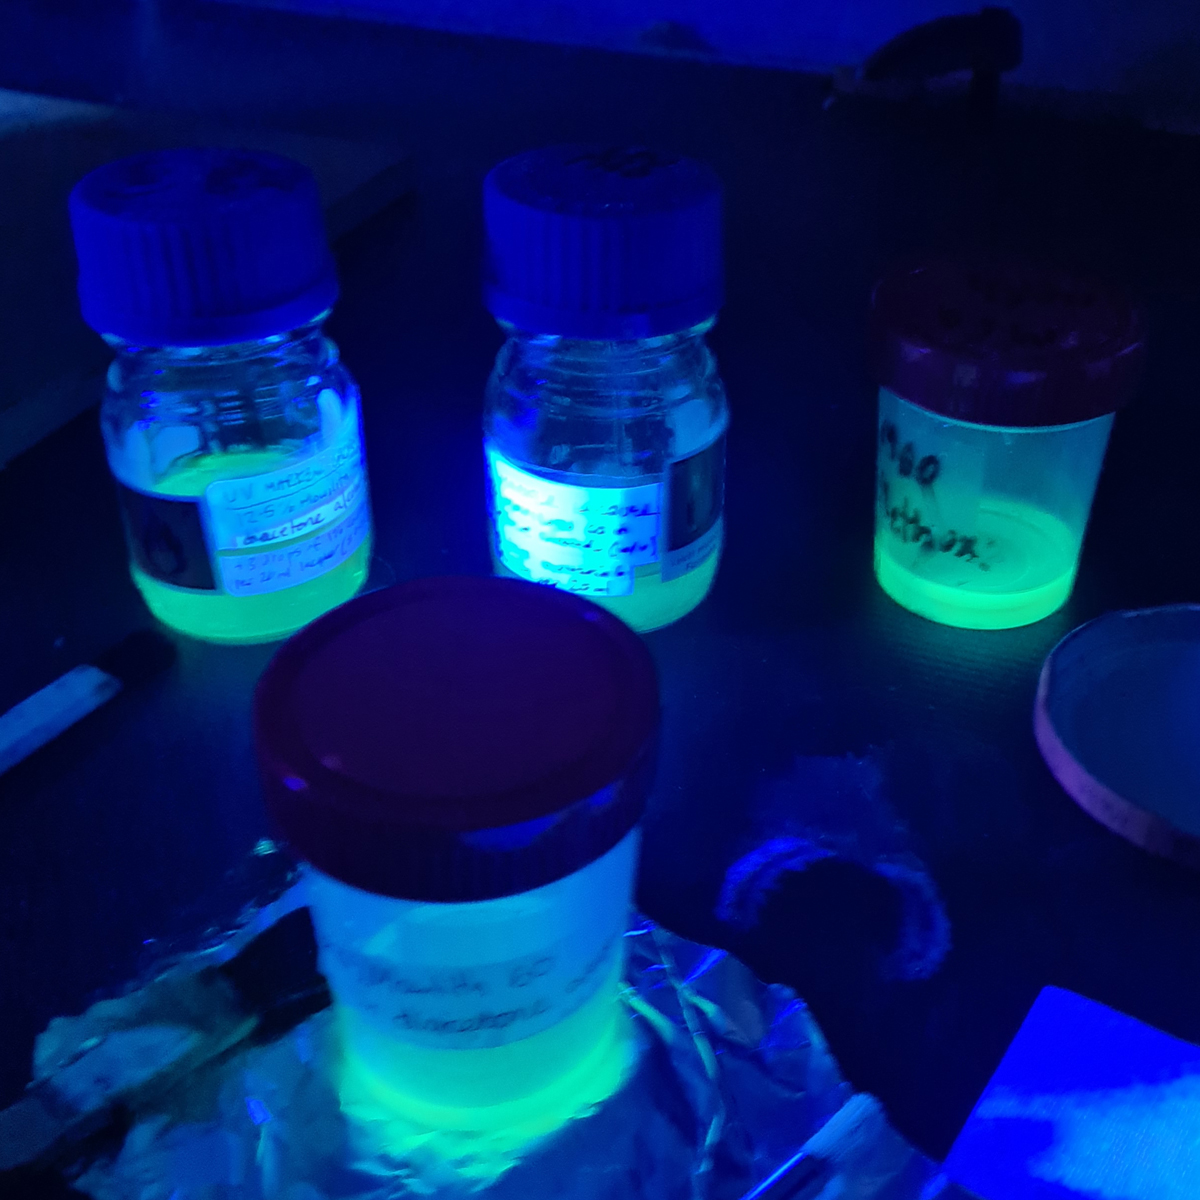
The two lacquers I tested were Mowilith 60 in Diacetone Alcohol and Mowilith 60 in Methoxy propanol. The Diacetone is slower to evaporate, so will allow slightly more time to ensure the coating is even. Unfortunately, the lacquer is transparent which can make it tricky to ensure everywhere is covered.
To remedy this, a temporary dye is placed inside the lacquer which makes it fluoresce green under UV light. This is why ‘The Cave’ is necessary, to block out all surrounding light. Then, a UV light can be shone on the surface to check for any missing areas.
The lacquer dries very rapidly and can become sticky if retouched. To ensure an even coating this procedure must be carried out fairly quickly, in one go, whilst remaining careful. Equipment like a Lazy Susan (a rotating turntable) can help achieve this.
If unsuccessful at coating it to a satisfactory level, then the lacquer must be fully removed to attempt again.
Fortunately, I was successful in lacquering it without requiring a second attempt. This resulted in a wine cooler that is newly clean, protected and ready to go back on display in the Banqueting Room.
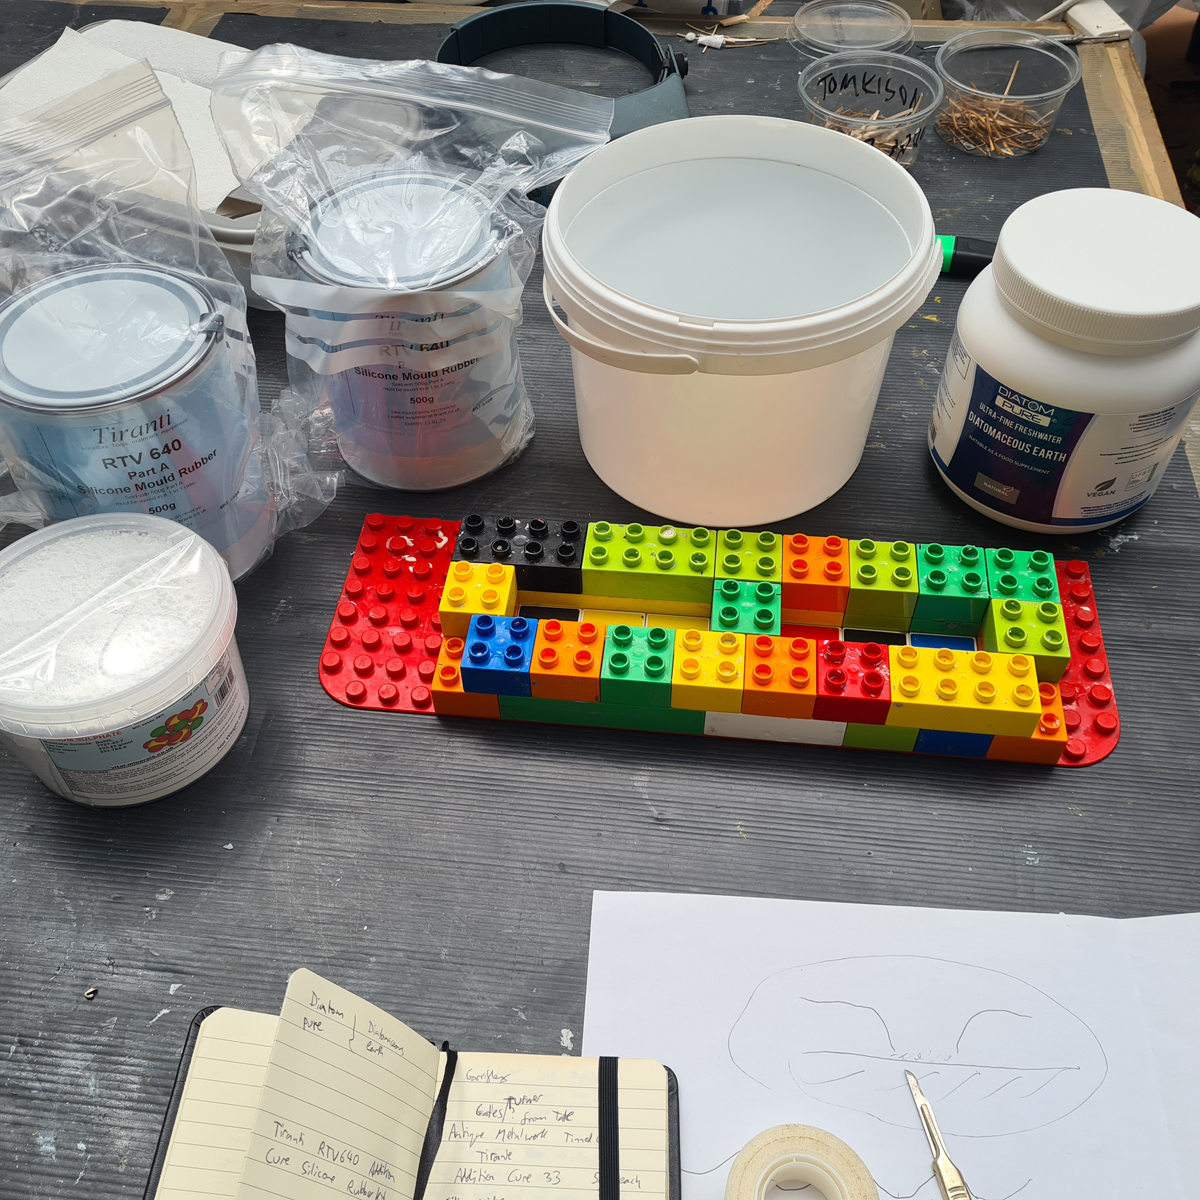
Experimentation with a different method also occurred. I created my own abrasive rubbers using very fine powdered minerals, such as diatomaceous earth and barium sulphate, along with a silicone rubber to encapsulate them. These should be beneficial in removing tougher areas of tarnish in small, difficult to reach areas, while still creating minimal scratches to the surface.
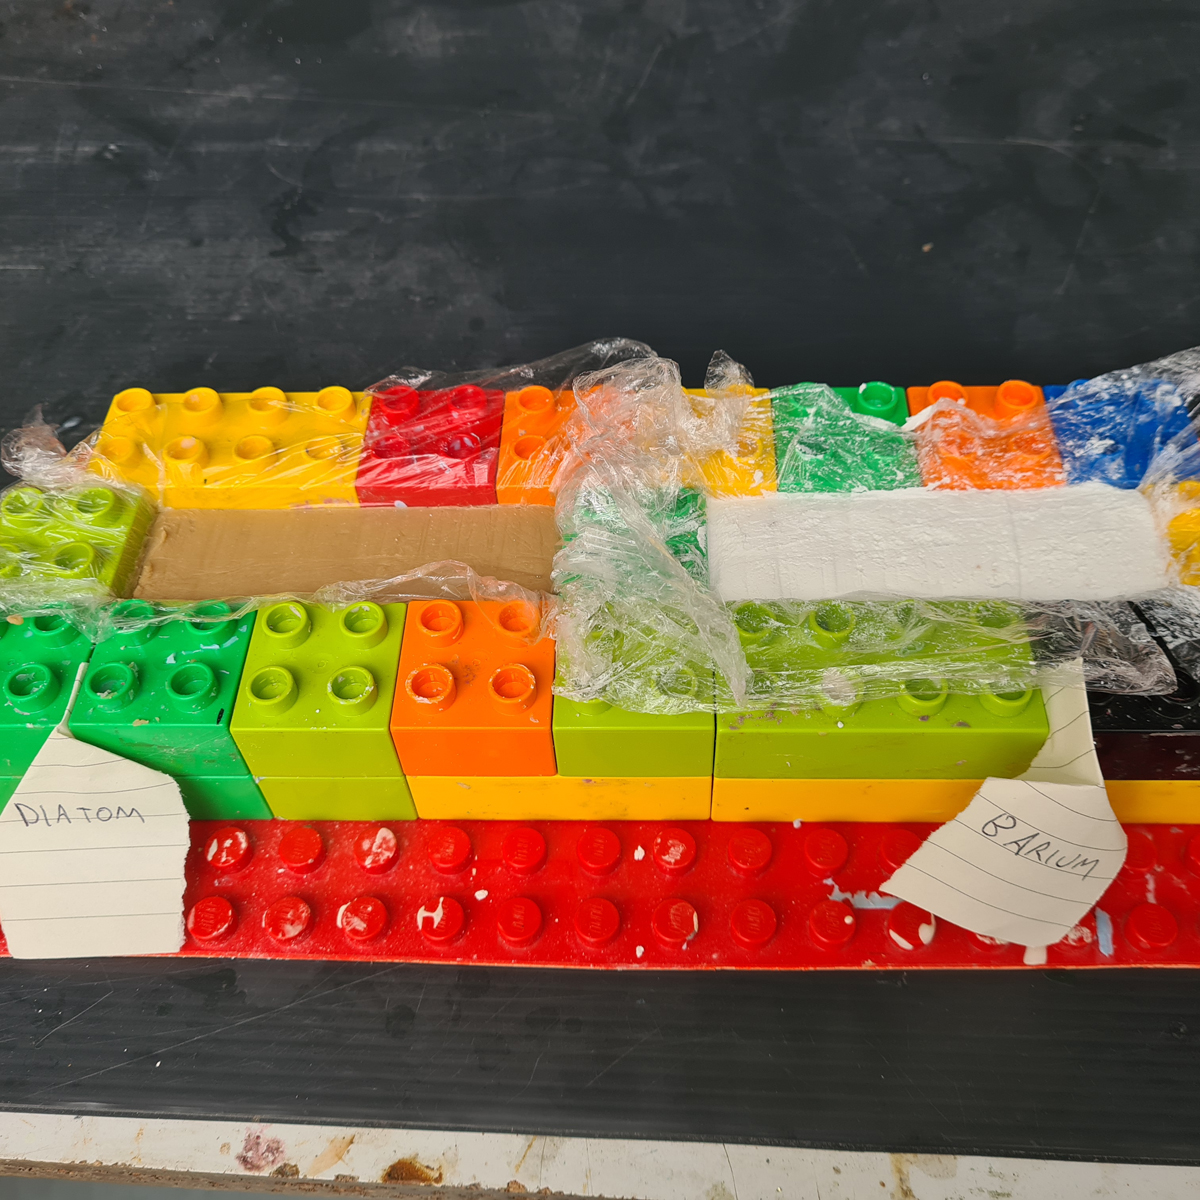
The diatomaceous earth rubber was a success – it proved effective in cleaning angular areas that a cloth could not. However, on flatter areas it was not as effective and a cloth was the superior method.
The barium sulphate rubber never set – implying it was interrupting the chemical reaction between the silicone components.
After the testing had concluded I was able to begin work on the objects from the table.
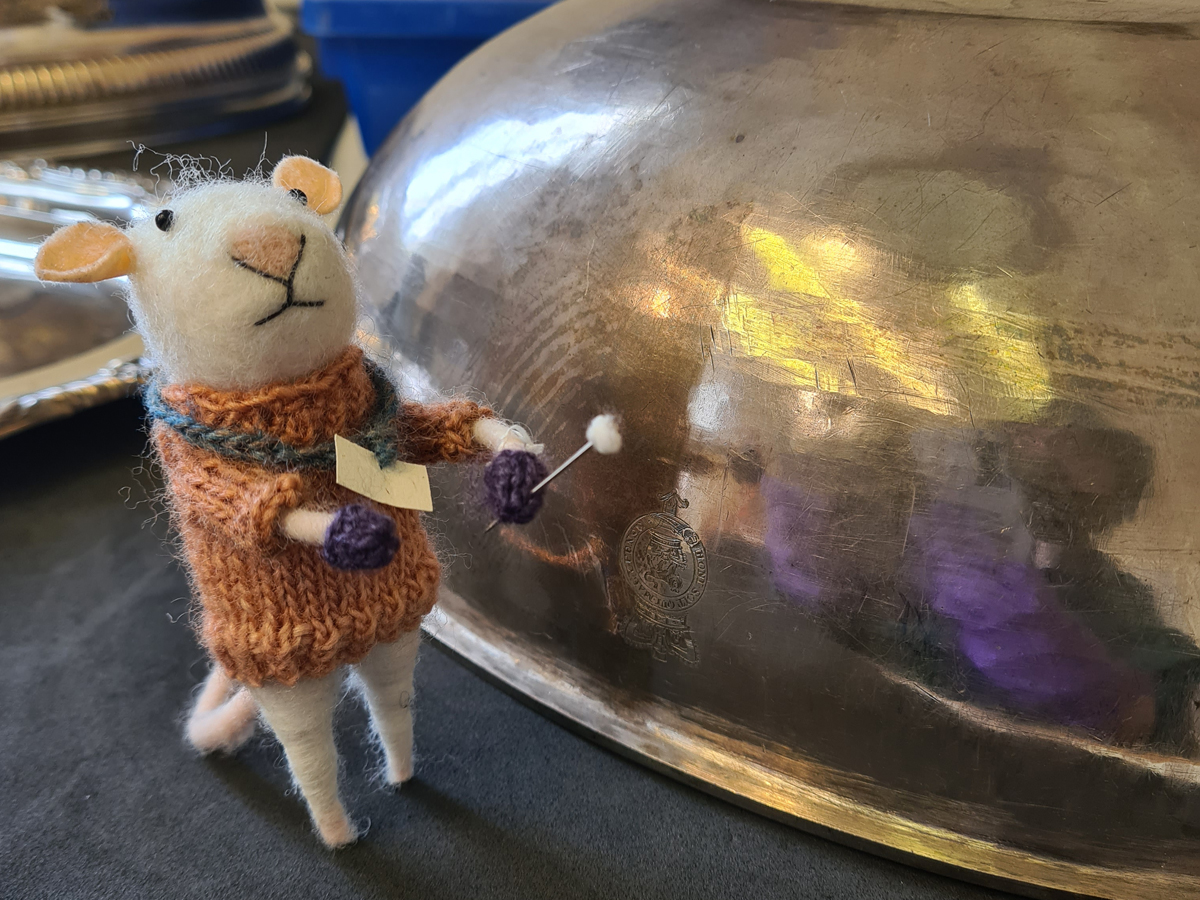
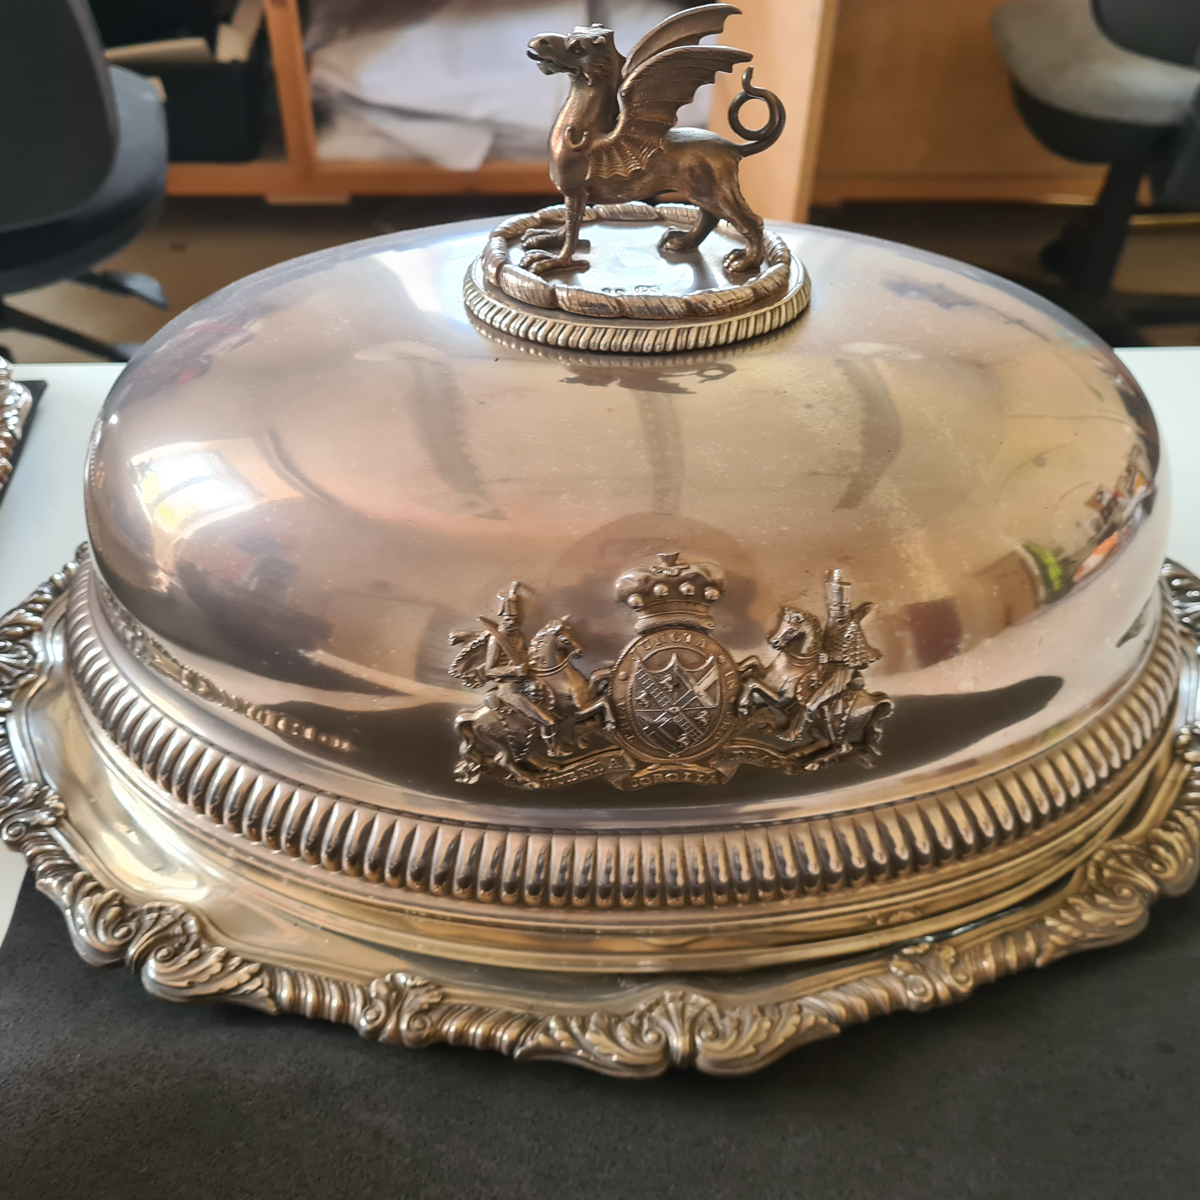
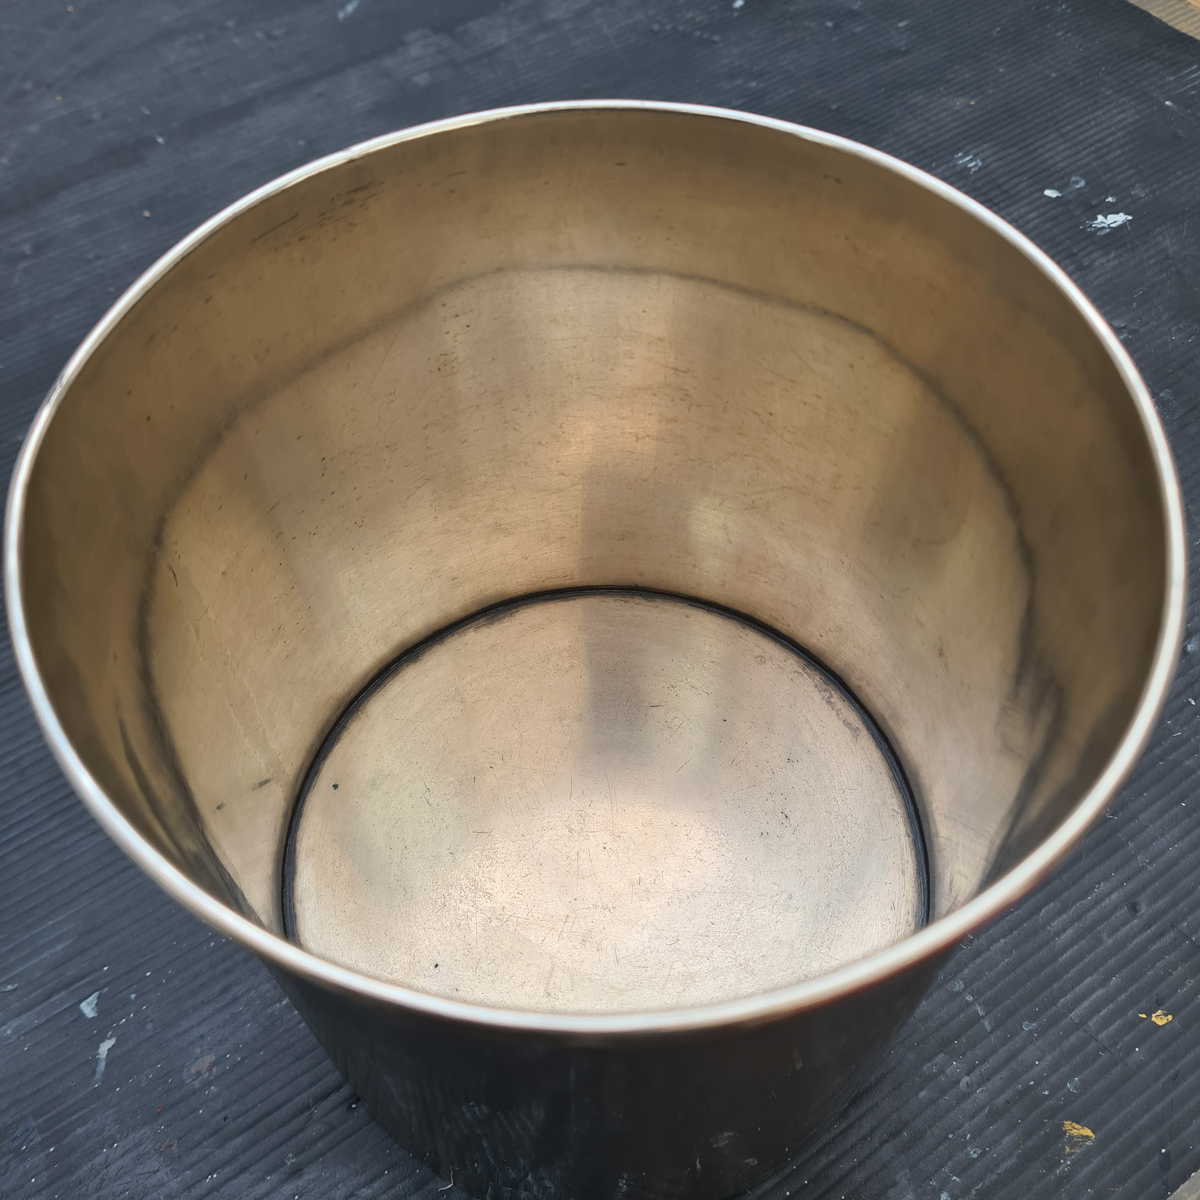
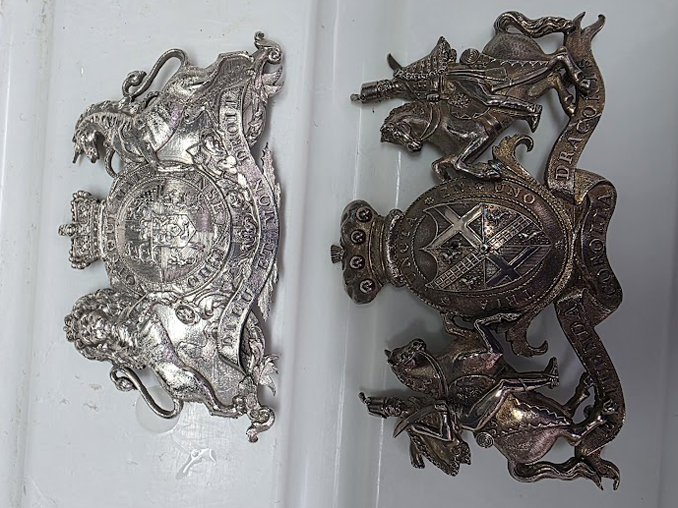
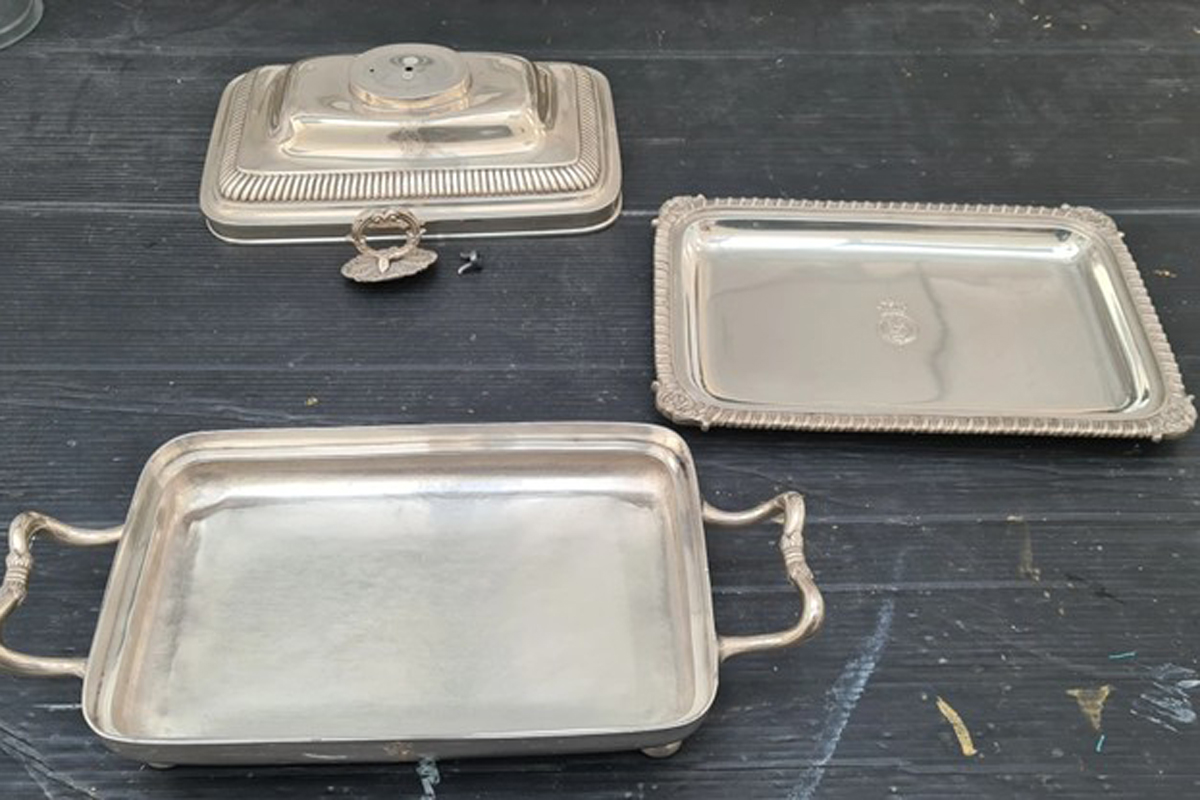
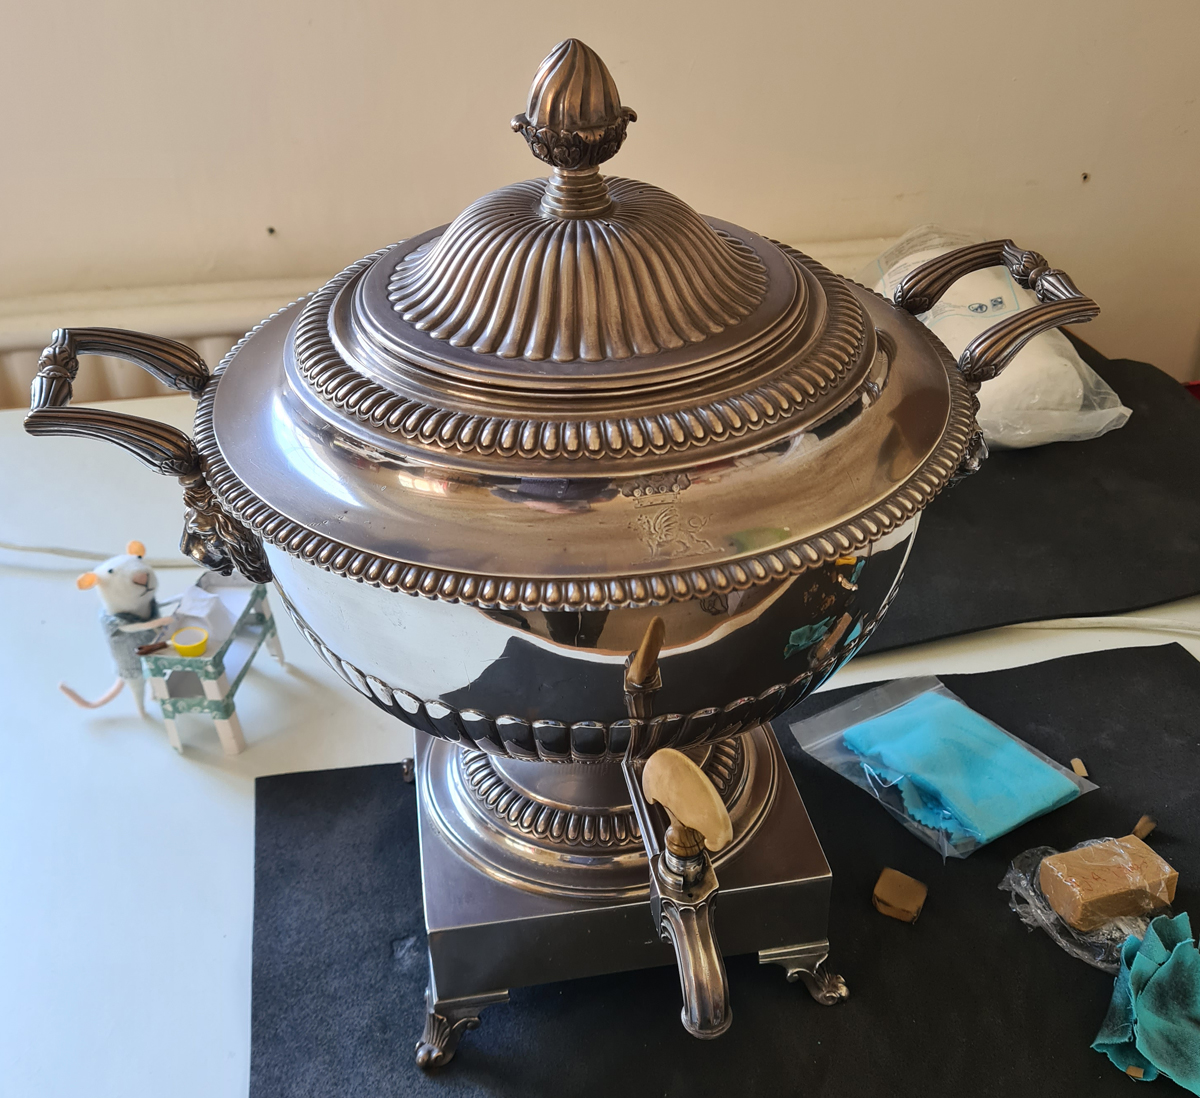
The first three objects from the Decker’s table to be worked on are an Entree Dish from 1807, Toasted-Cheese Dish from 1809, and a Hot Water Urn from 1809.
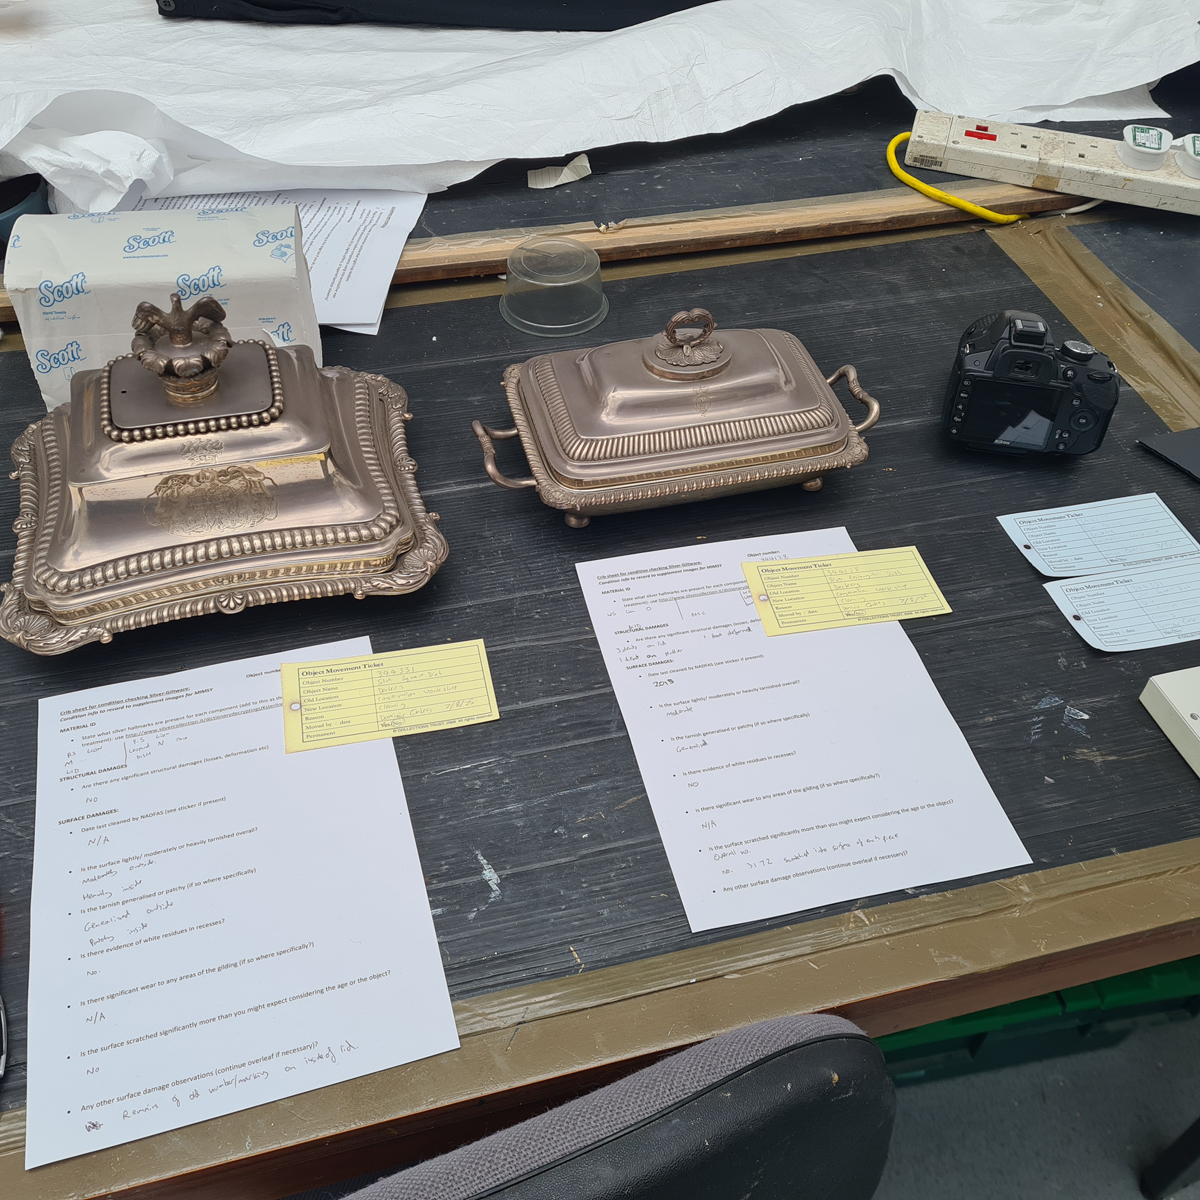
After being moved to the workshop, up to date high-quality images were taken from all sides to document the current state before any treatment.
Then, a condition assessment was undertaken to identify if there are any areas of concern – such as damage or pieces that are coming loose.
This also provided an opportunity to determine which methods of cleaning are suitable to be carried out – in this case the Entree Dish and Toasted-Cheese Dish were suitable for Silver Dip treatment as they did not feature any problematic areas and were just silver.
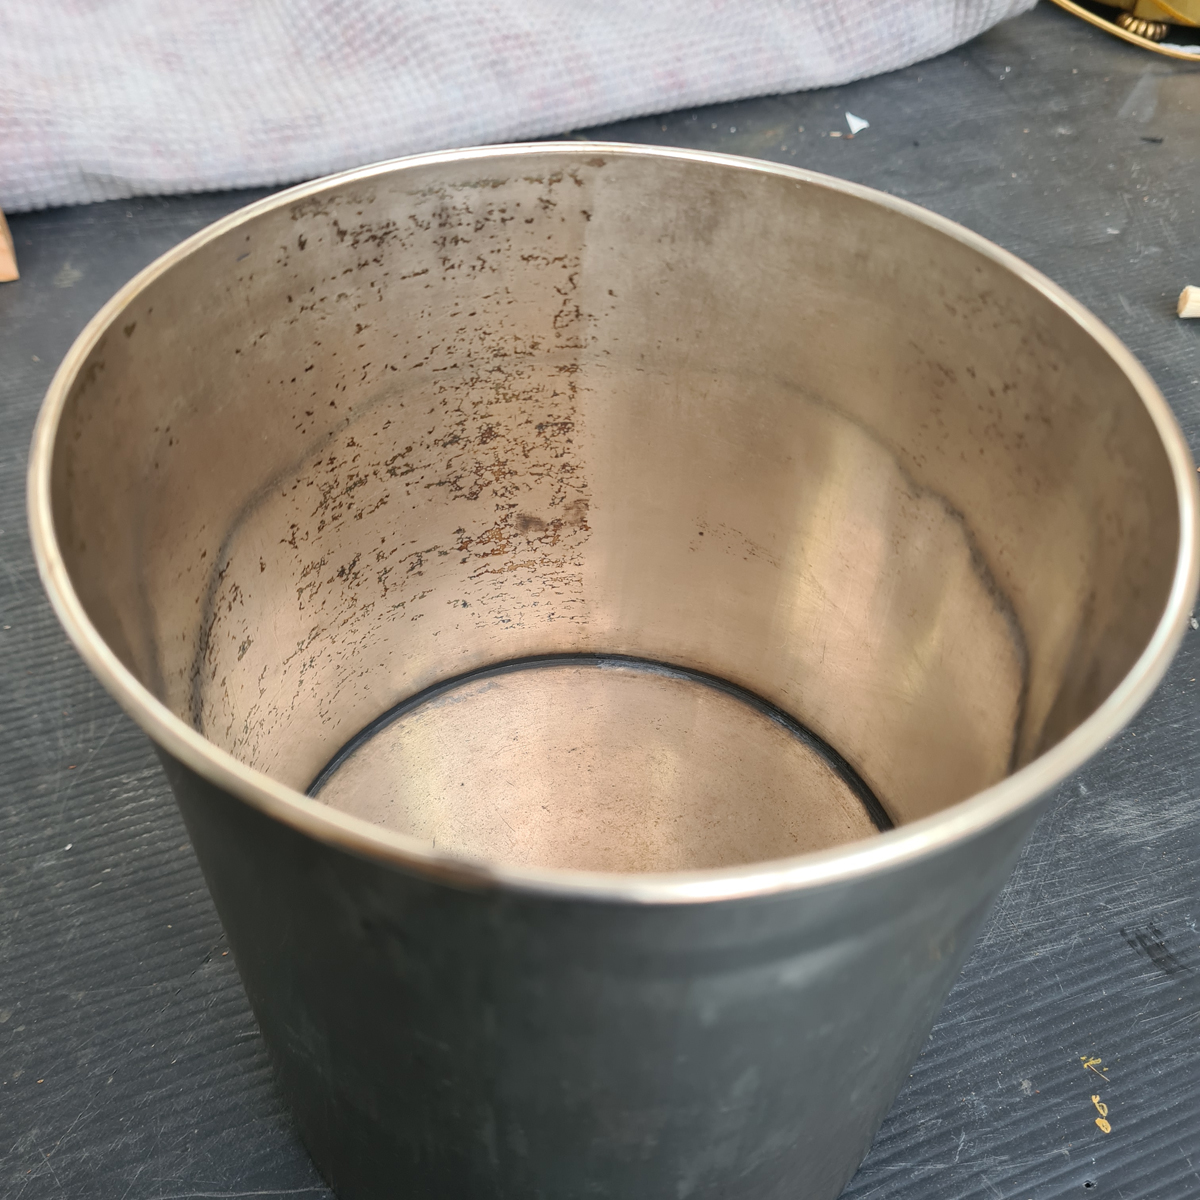
However, as the Hot Water Urn had an ivory tap which should not be made wet, and had hollow areas that could not be reached, it would mean there is a potential for residues to remain trapped inside and cause further damage. For this reason Silver Dip was unsuitable and a more manual approach was necessary.
Before tackling the tarnish, the objects were all cleaned to remove general dust and dirt which would obstruct the tarnish removal and potentially cause scratches.
First applications of Silver Dip can make a rapid and drastic improvement to the appearance, but sometimes require additional measures, particularly in crevices where there has been large amounts of build up of dirt and tarnish.

In this case a combination was used including secondary dip treatments, an abrasive rubber and wooden cocktail sticks.
Silver Dip also needs to be followed by a thorough rinsing process to ensure all of it has been removed from the surface to prevent any residues.
Before returning to the Deckers, it still requires lacquering, reassembling, and the accession number reapplied. Both the Toasted-Cheese Dish and Entree Dish are currently at this stage.
For the Hot Water Urn, I have been using dry methods of polishing, mainly the use of a silver polish cloth with very fine abrasives embedded in it for the flatter sections and my silver rubber, containing diatomaceous earth, for the recesses.
This method is significantly slower than using the Silver Dip and requires more patience to be polishing a piece for so long to get the desired result. Due to this, the cleaning of this piece is still ongoing.
Updates to the progress of this project, my Costume Store project, and those of my fellow Graduate Conservator will follow throughout next year.
The next blog will be from Tessa Corton regarding how Conservation prepares for Christmas at the Royal Pavilion, and updates to other projects.