Pagodas Project Part Three, The Reconstruction
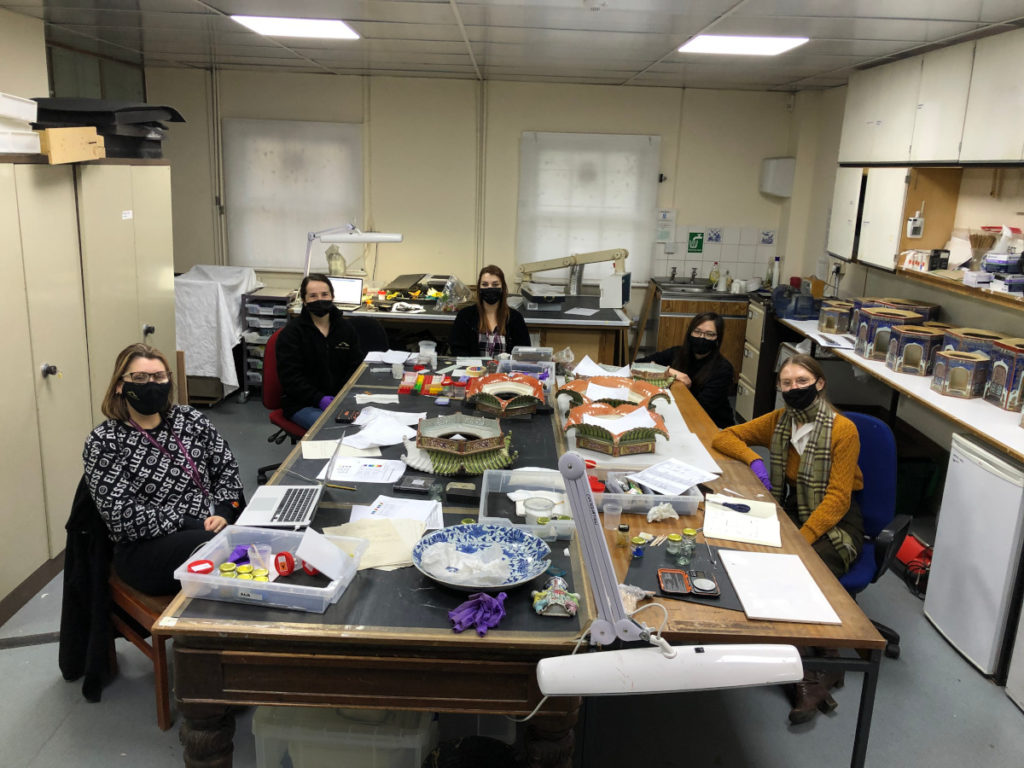
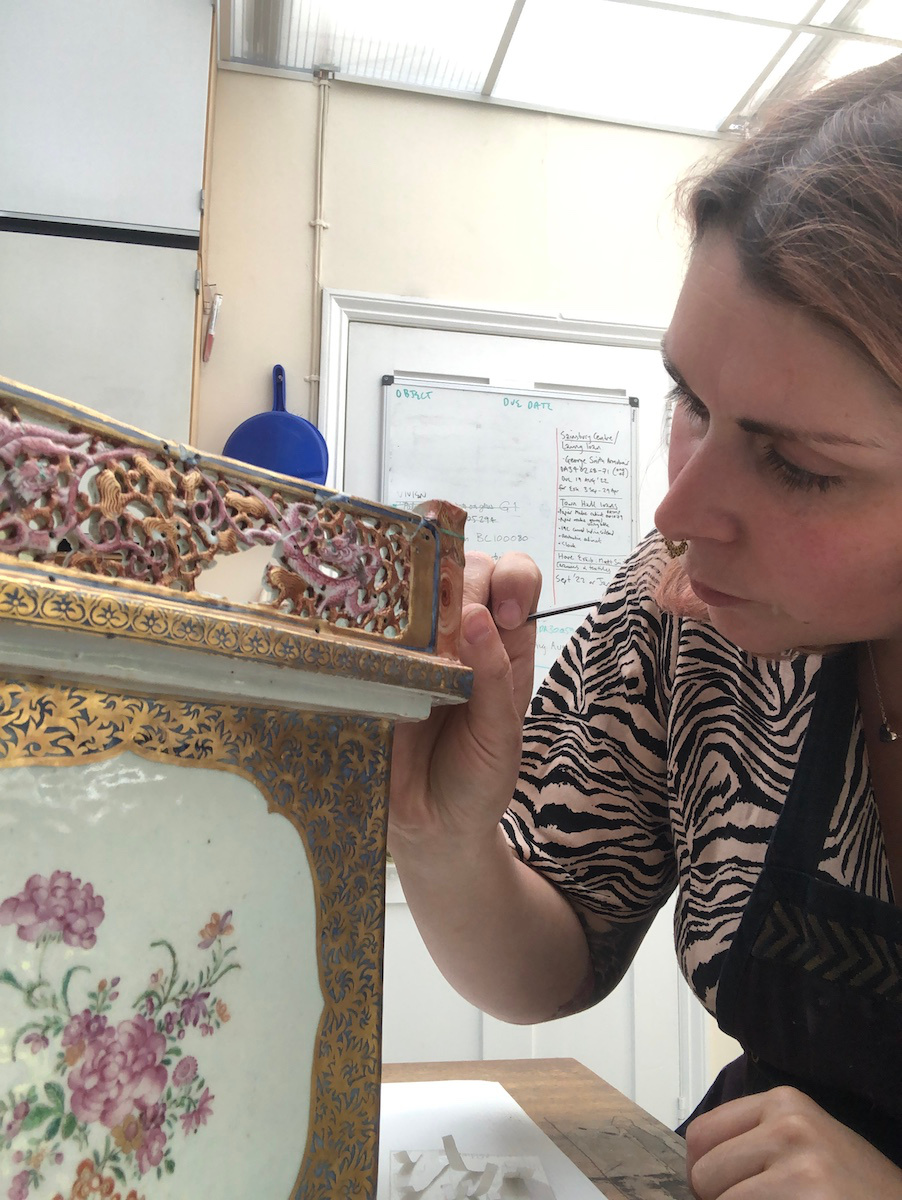
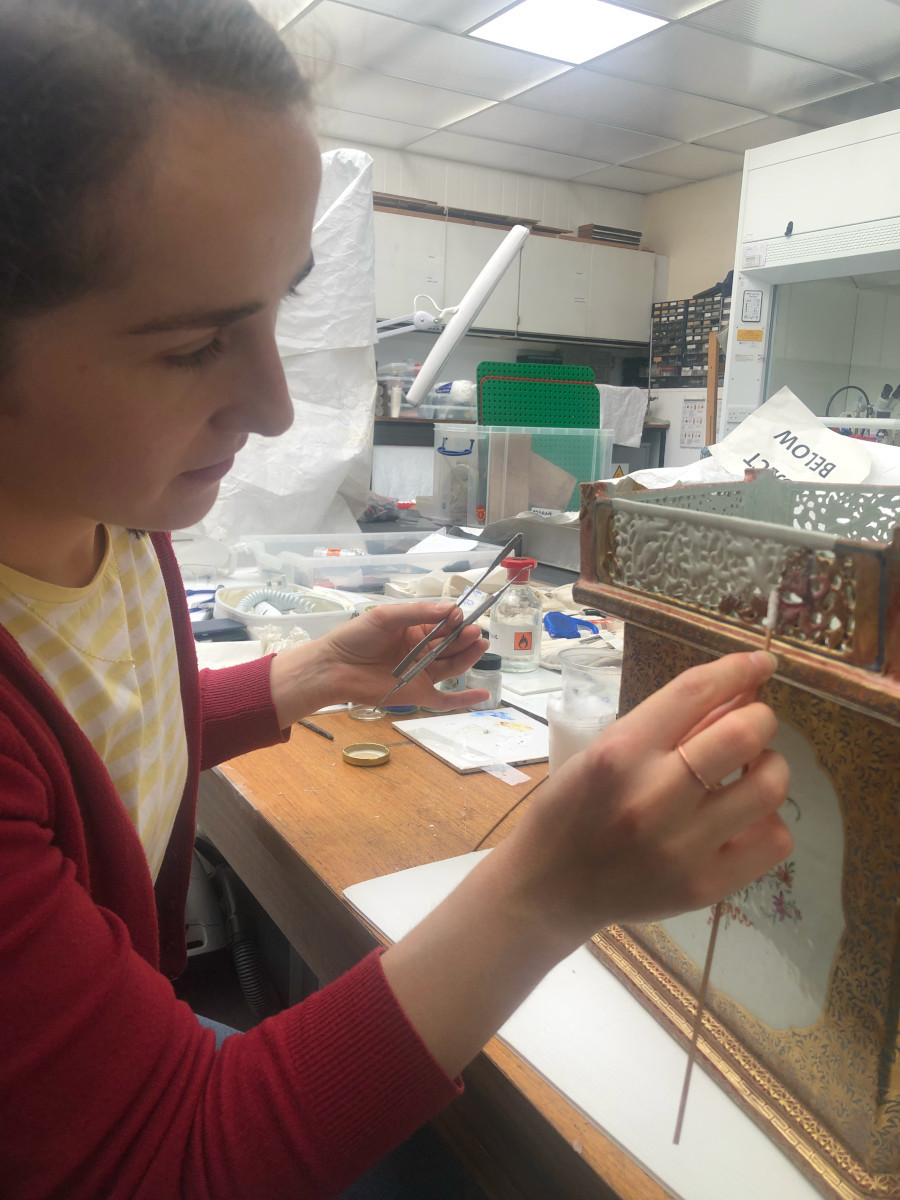
Conservation Assistants Hannah Mortell & Ana Vilela share an exciting update on our ceramics conservation project.
If this is your first encounter with the Pagodas Project, you can find an introduction and the first stage of our work in Introducing the Pagodas Project. A second post explained the process of casting and refining coloured epoxy fills, which you can find in Conservation Continues… Part Two of the Pagodas Project.
This time we will take you through the re-building stage of the restoration or reconstruction of the Pagodas. This was the lengthiest process so far, as we were using several different methods and materials. This was broken down into three main stages:
● Reattachment and consolidation of original porcelain fragments
● Attaching our casted coloured Hxtal fills and refining with Hxtal putty
● Utilising a Polyester resin to refine existing fills of this type and modulate more complex forms
We started by making a tracker of each tier, and separated the work they each needed by these 3 methods. This has helped us to estimate times and plan the work ahead.


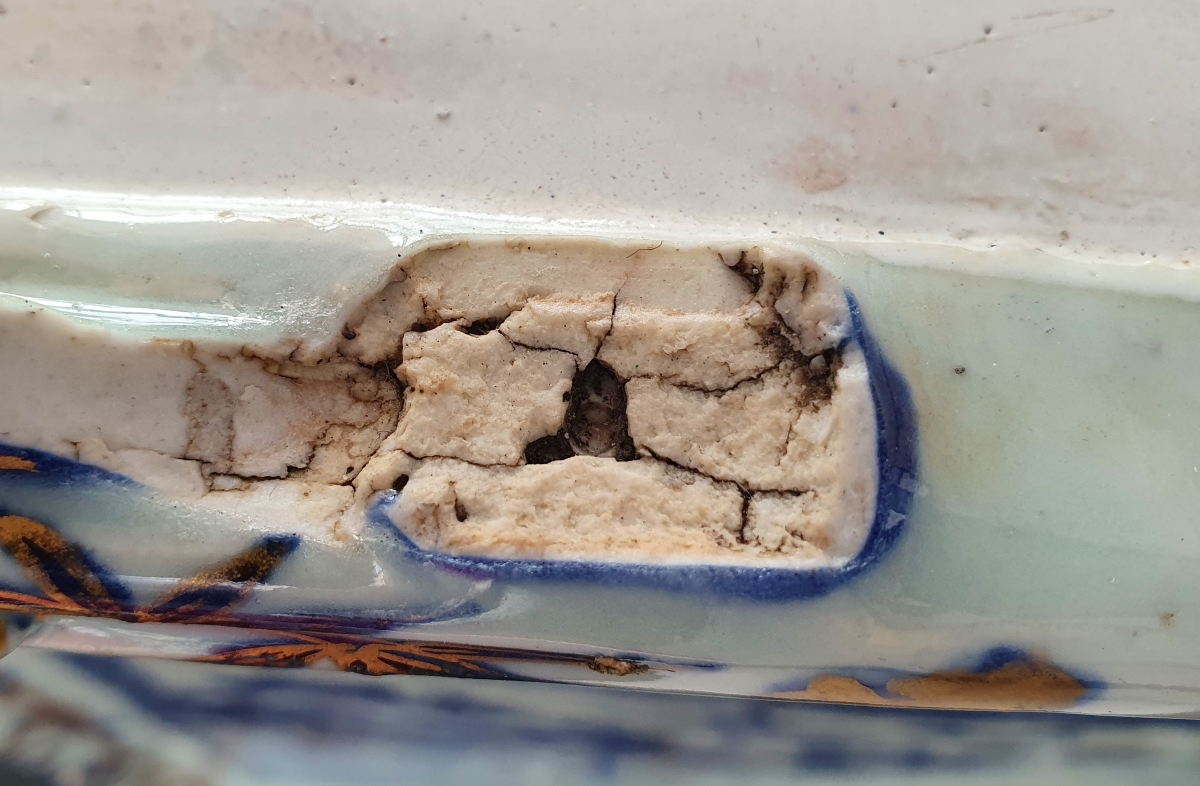
Stage 1 – Original Fragments
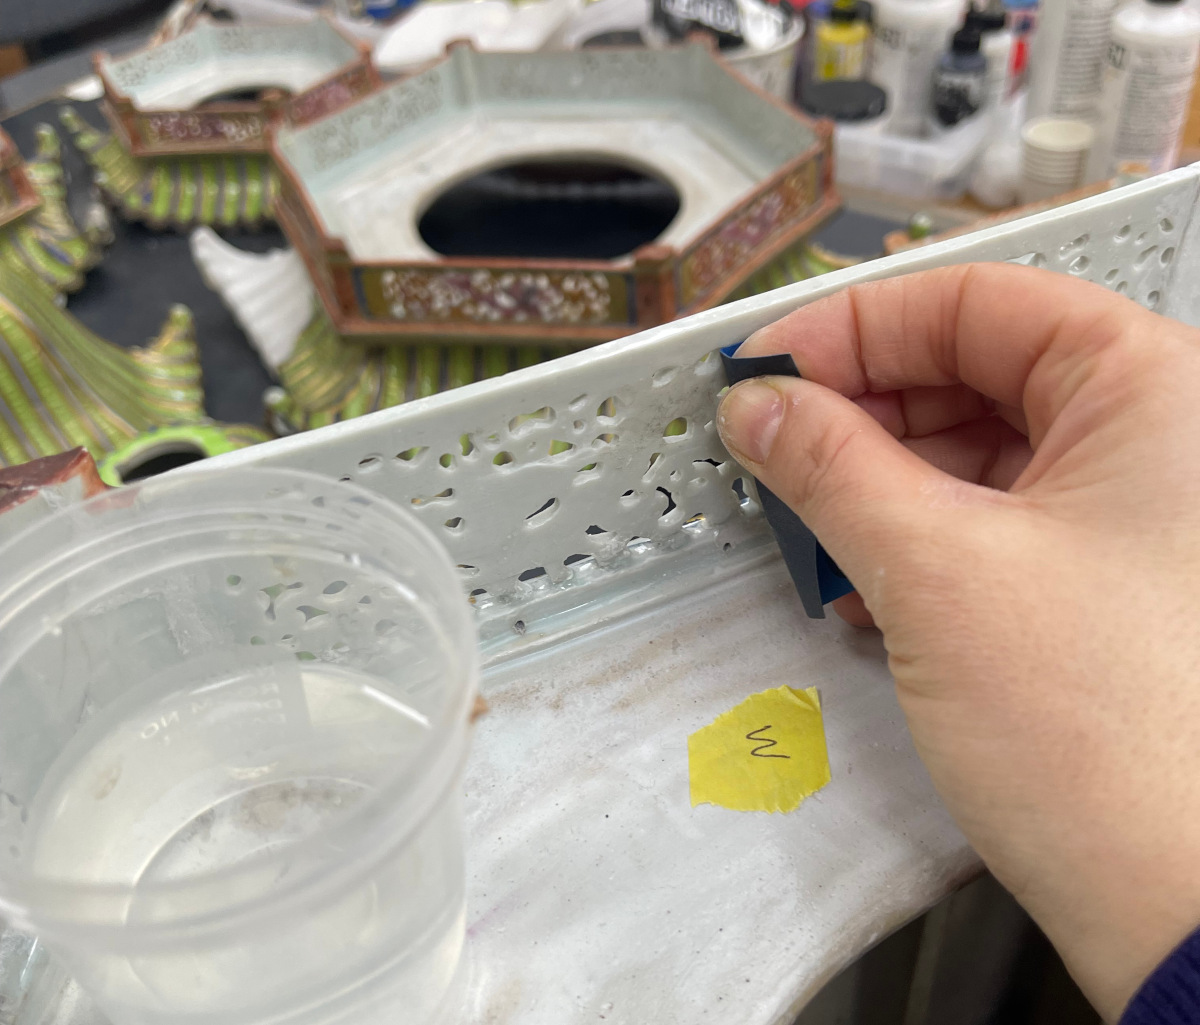
Upon examining the few original unattached fragments we had, most of them had clear evidence of old adhesives along the break edges from previous failed restoration attempts. This was removed through a combination of mechanical lifting using a scalpel, and applying a cotton wool poultice of Diacetone alcohol to break down any remaining adhesive which may interfere with aligning the fragments as accurately as possible


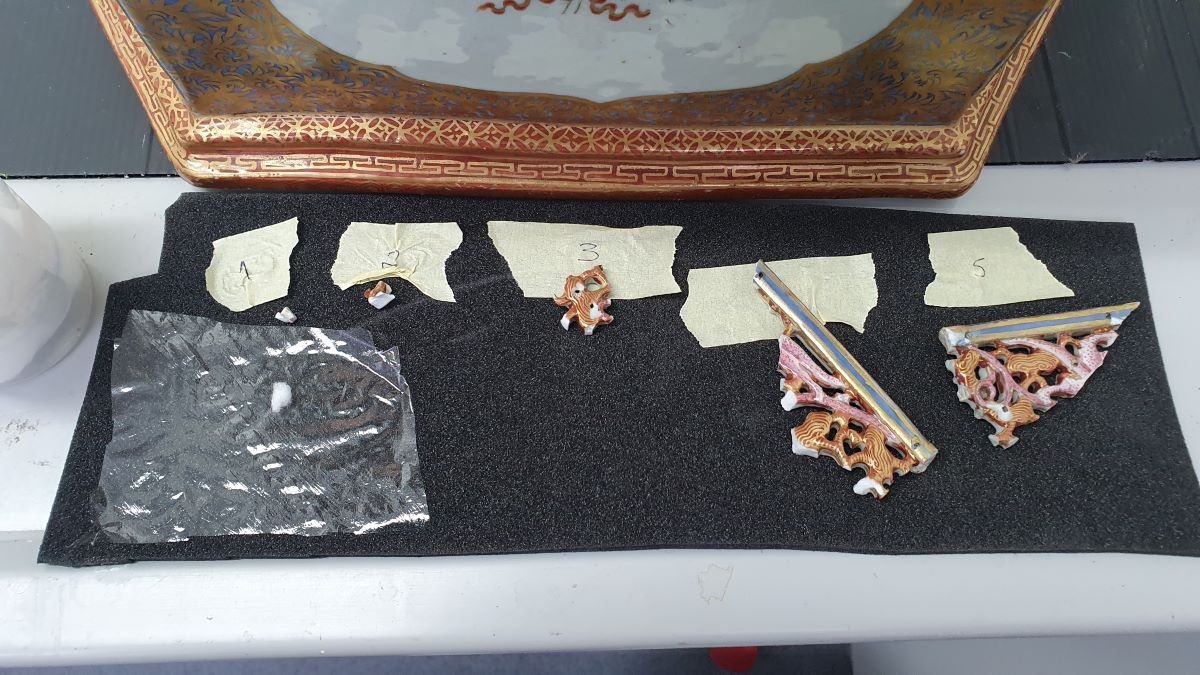
We then held the pieces together in place using low-tack tape to determine the proper order to adhere them in.
The fragments were given numbers based on this order and we began to reattach them to the ceramic body.
We decided to attempt to reconstruct the fragments using a reversible adhesive; Paraloid B72 (20% in 3:1 Acetone: IMS w/v)
However we found this was not strong enough due to the complexity of the break edges along many small points of contact. We decided instead to only apply Paraloid B72 as a barrier between our casted Hxtal fills and the original porcelain to maintain some reversibility in the future should they need to be removed.
Hopefully the original fragments will unlikely be removed in the future and so we could use a stronger option. We used the same Hxtal epoxy which made up our casted fills, in its non-bulked original form – a crystal clear and non-yellowing resin – a well-known stable material often used in ceramics conservation.

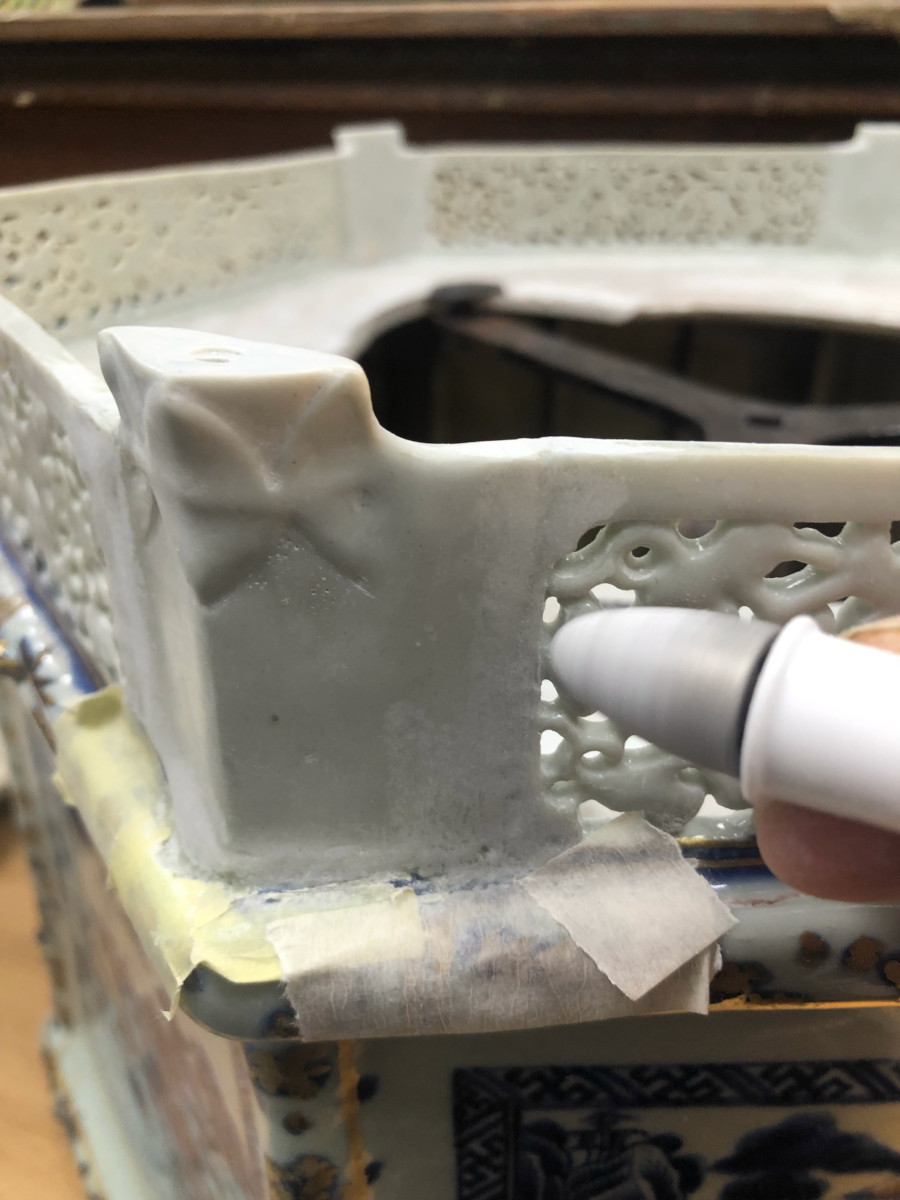
We carefully applied it with a soft, thin brush along the breakage line making use of the capillarity and cleaned any excess.
The fragments were securely held in place with tape to keep them from dislodging and left for a week to cure.
Stage 2 – Attaching and refining our casted Hxtal fills
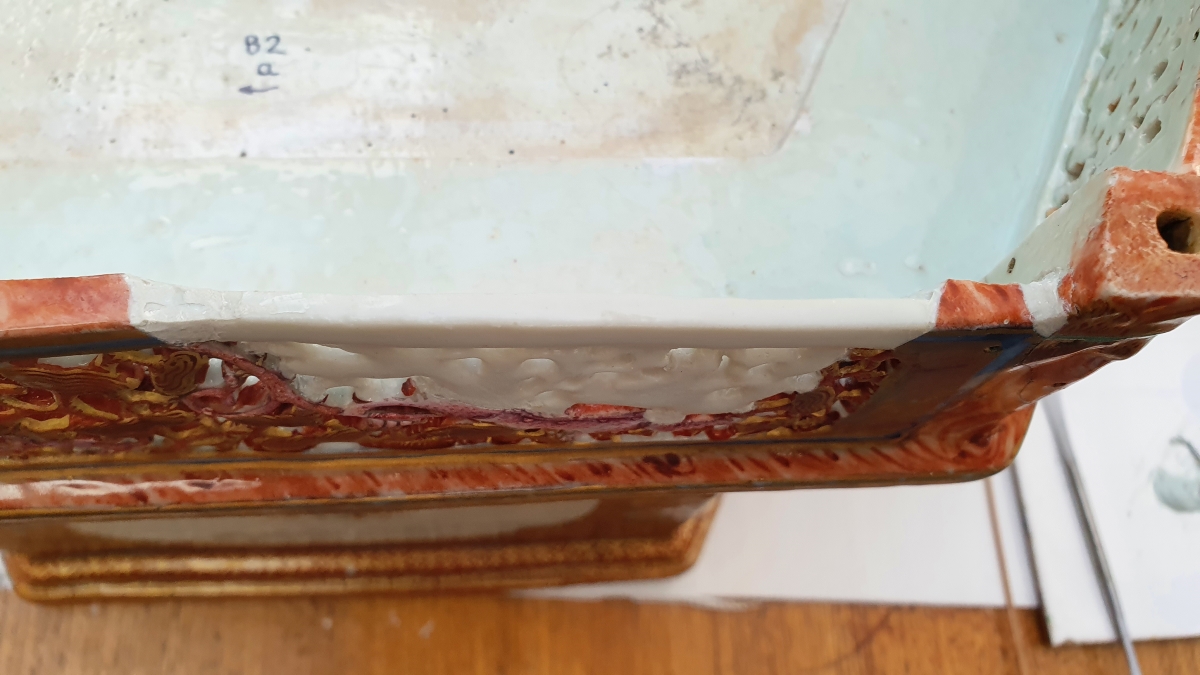
The next stage was the reconstruction with our Hxtal epoxy resin casts and localised infills with Hxtal putty.
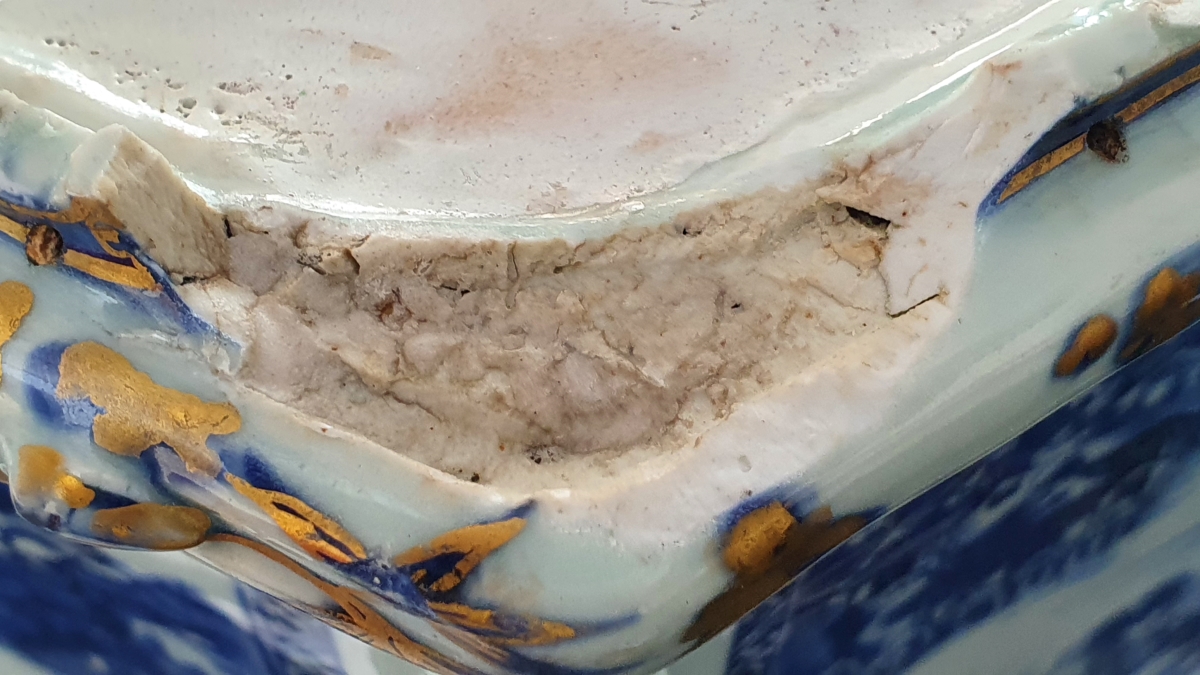
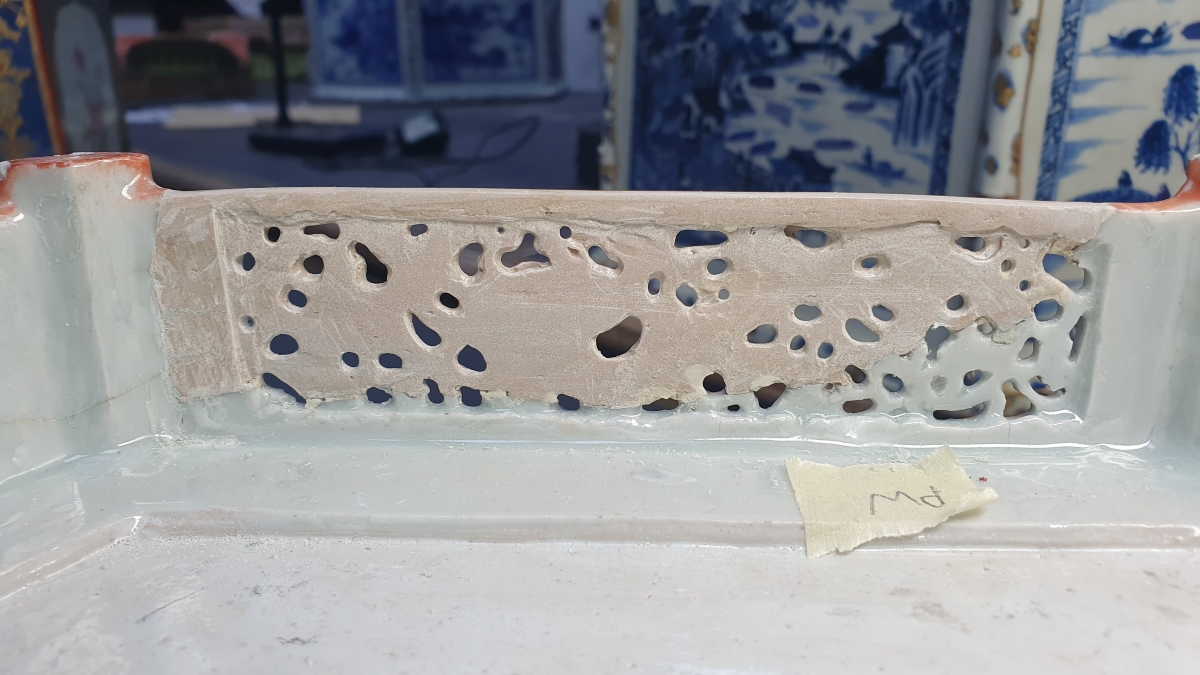
Again, a protective layer of Paraloid B72 at 20% was used to protect the original ceramic body. We also bulked this with glass micro balloons to fill any holes in the ceramic body and prevent the resin from permeating too deeply into the ceramic.
On larger and irregular surface areas we used Paraloid B72 (40% in methoxypropanol w/v), this higher viscosity allowed us to level out the contact area for the casts.

Finally, we applied unwoven tissue – Bondina – as an extra barrier layer. After curing time, it was time for the reconstruction itself.


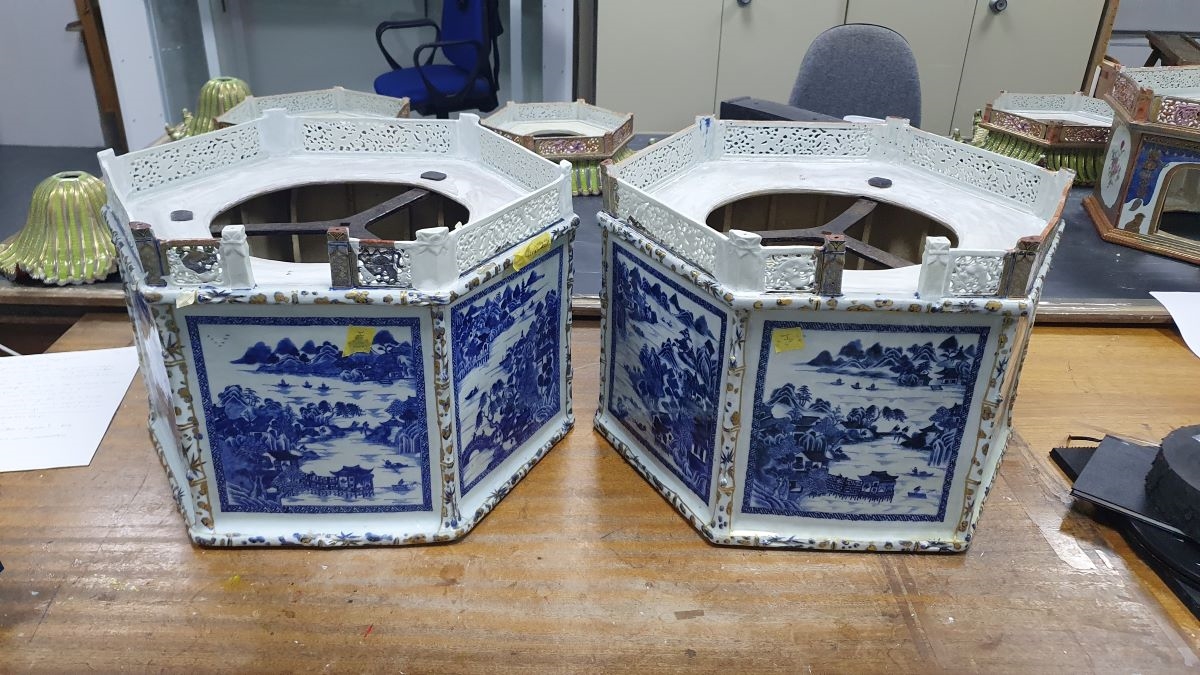
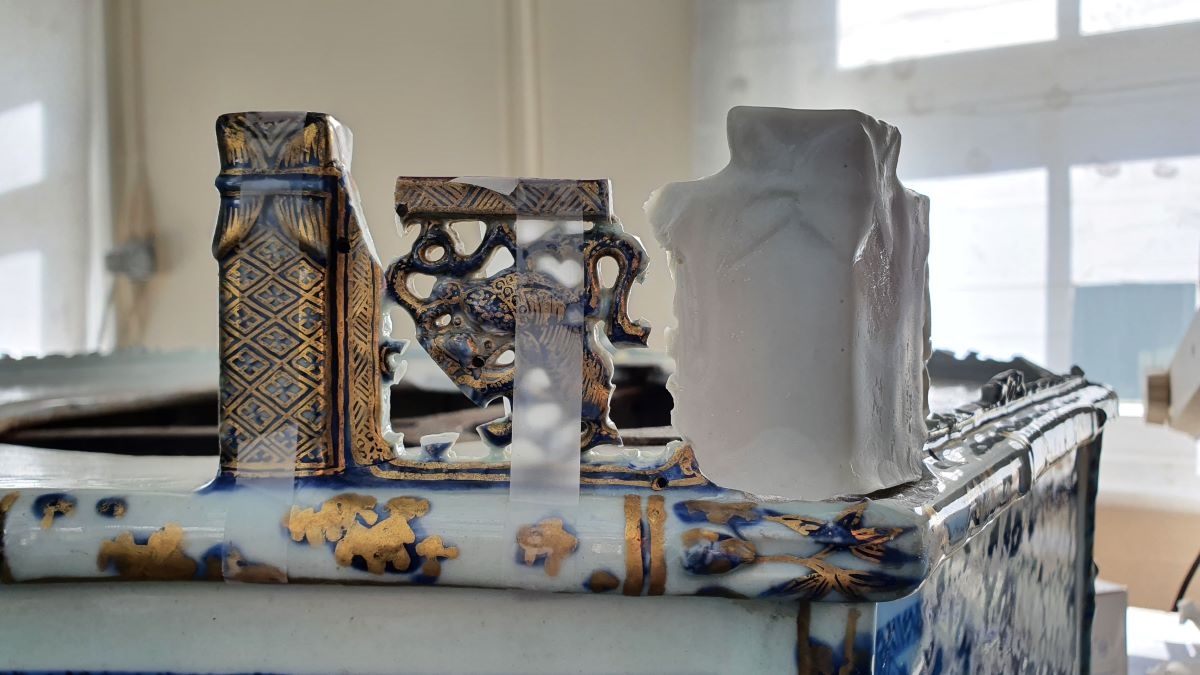
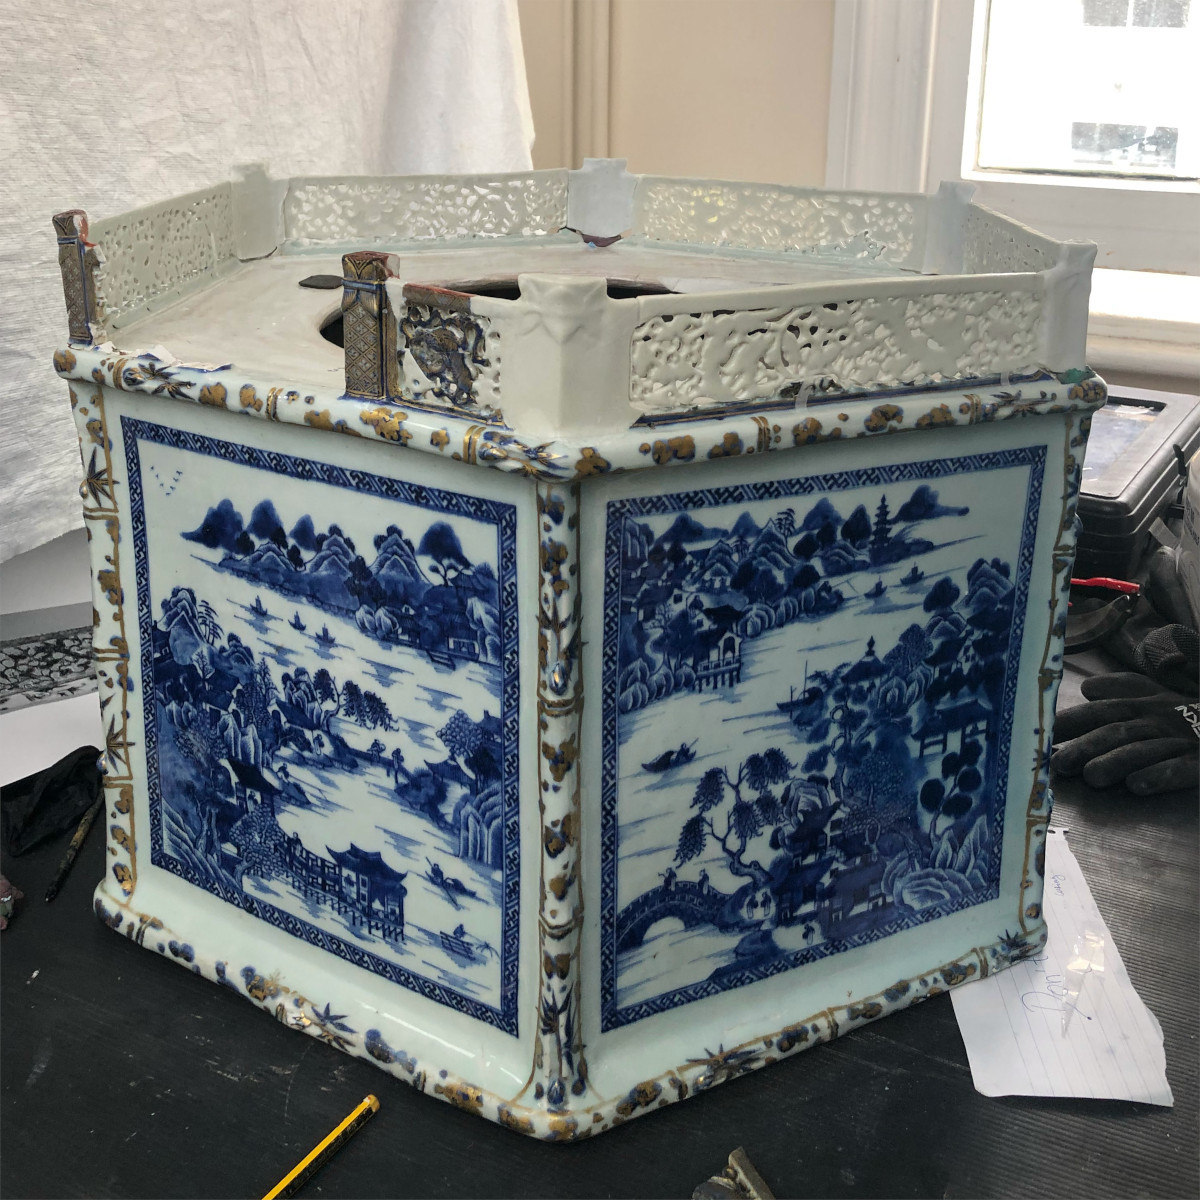
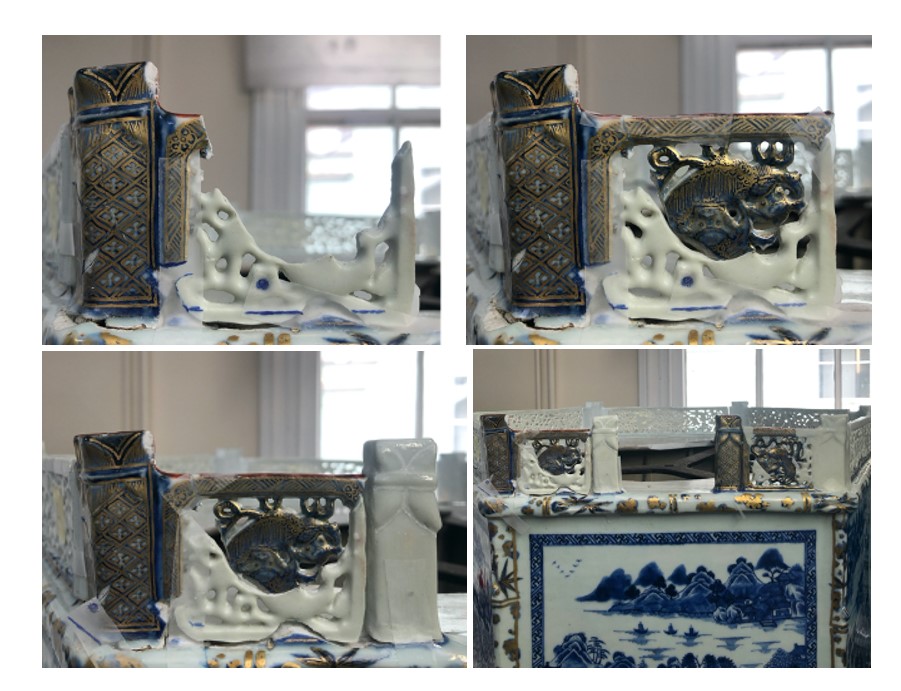
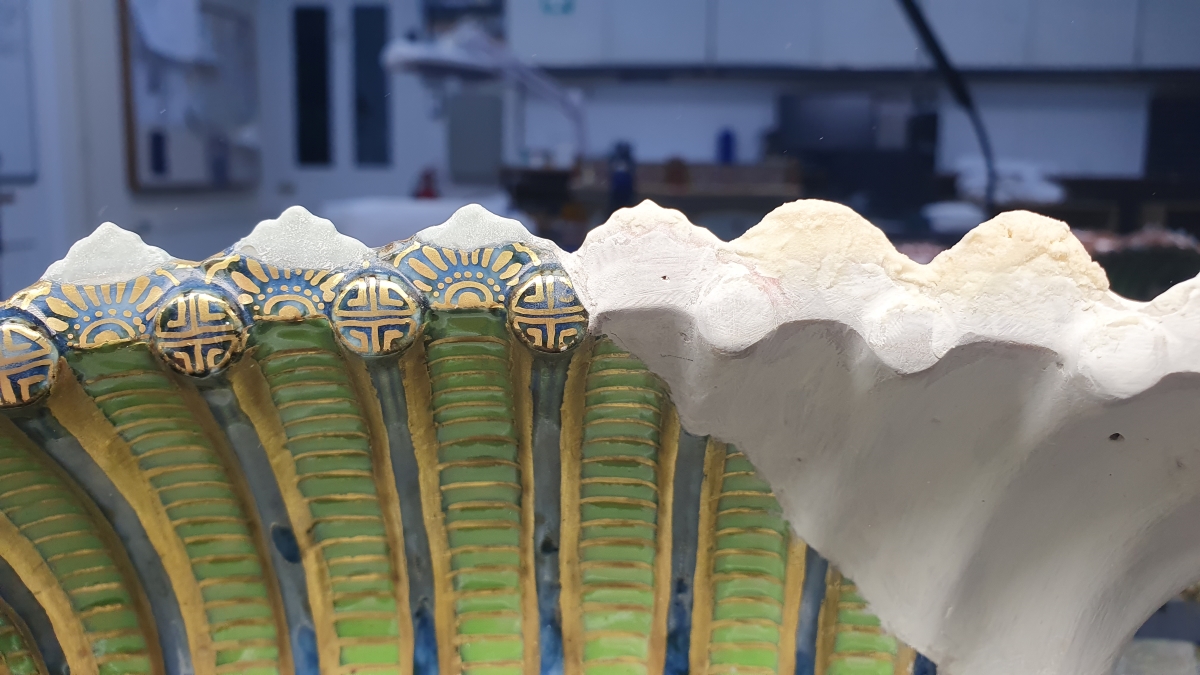
The casts range from centimetres in size to complete balustrades or columns.
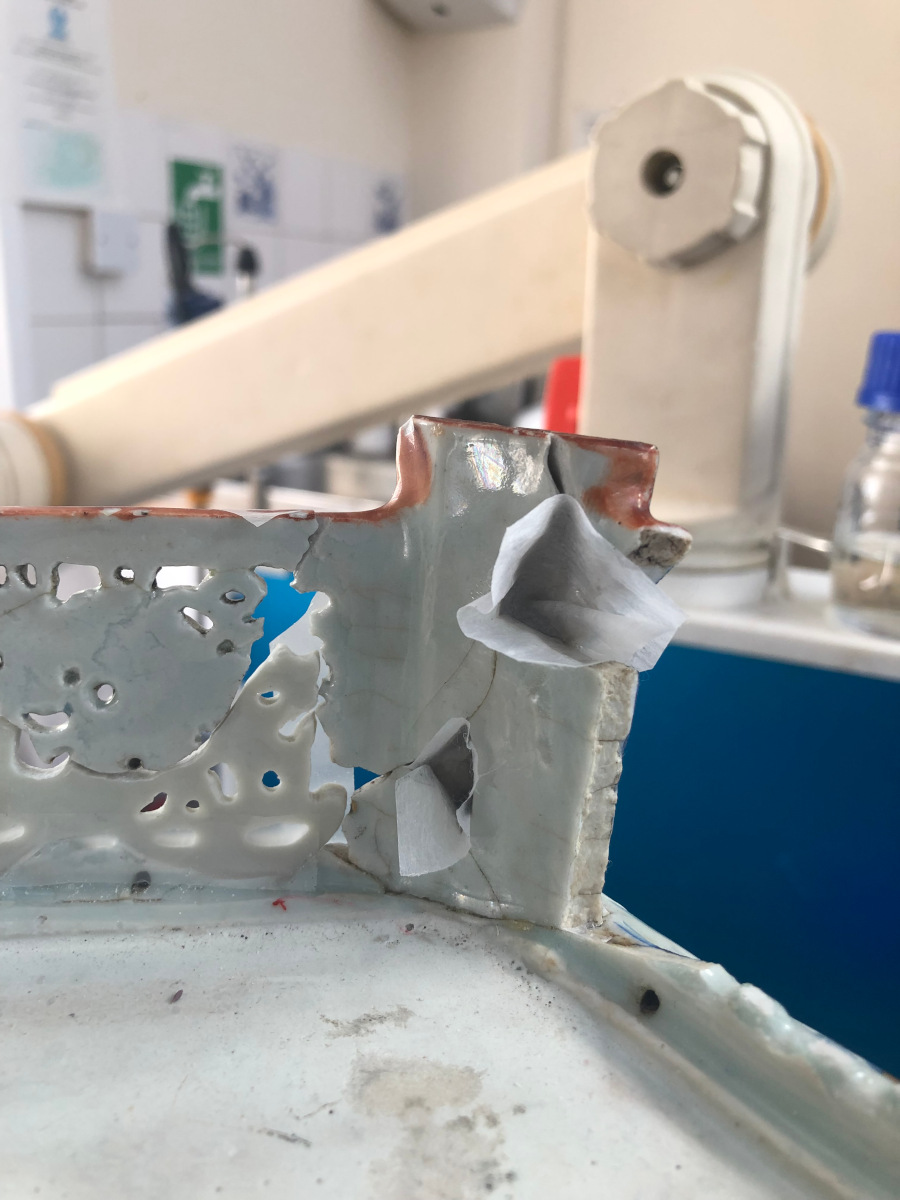
One of the base tiers had its balustrades almost entirely reconstructed by casts.
In some cases, the cast itself was used as support to hold the fragment in place during the curing. The reconstruction of this tier was complex due to the number and size of elements to incorporate and align cohesively.
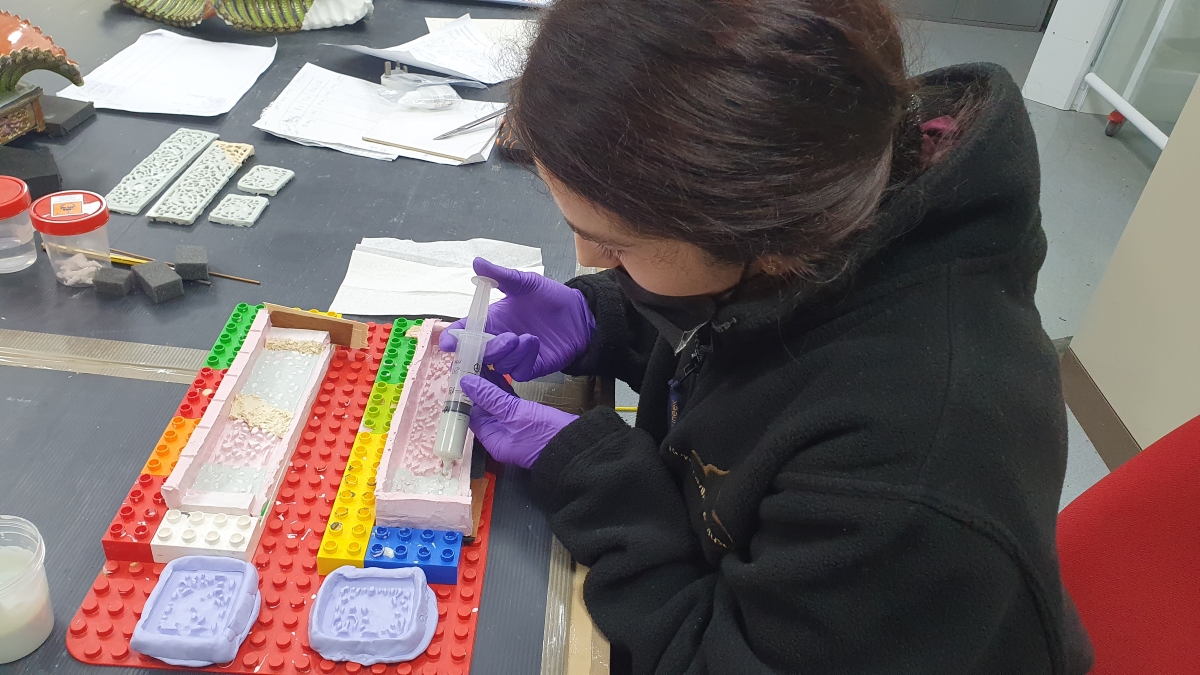
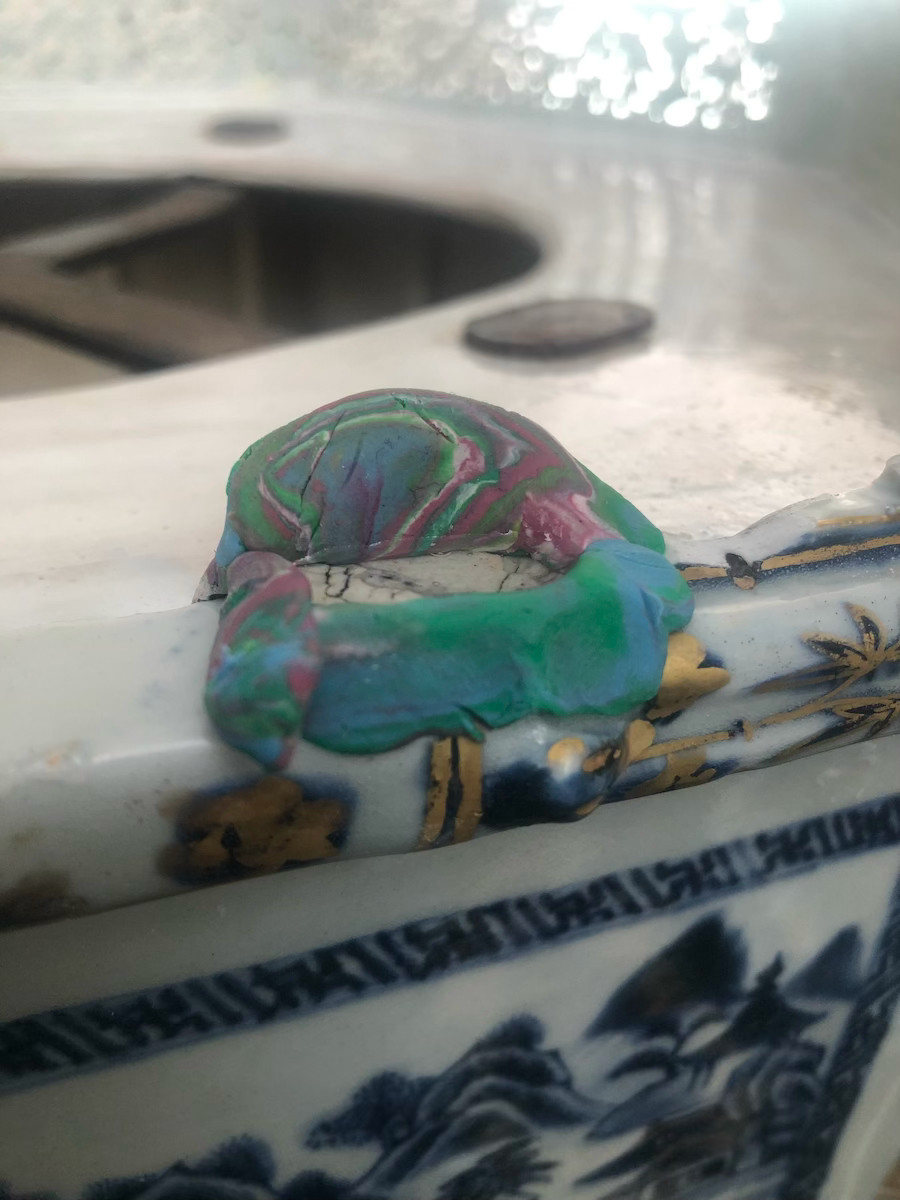
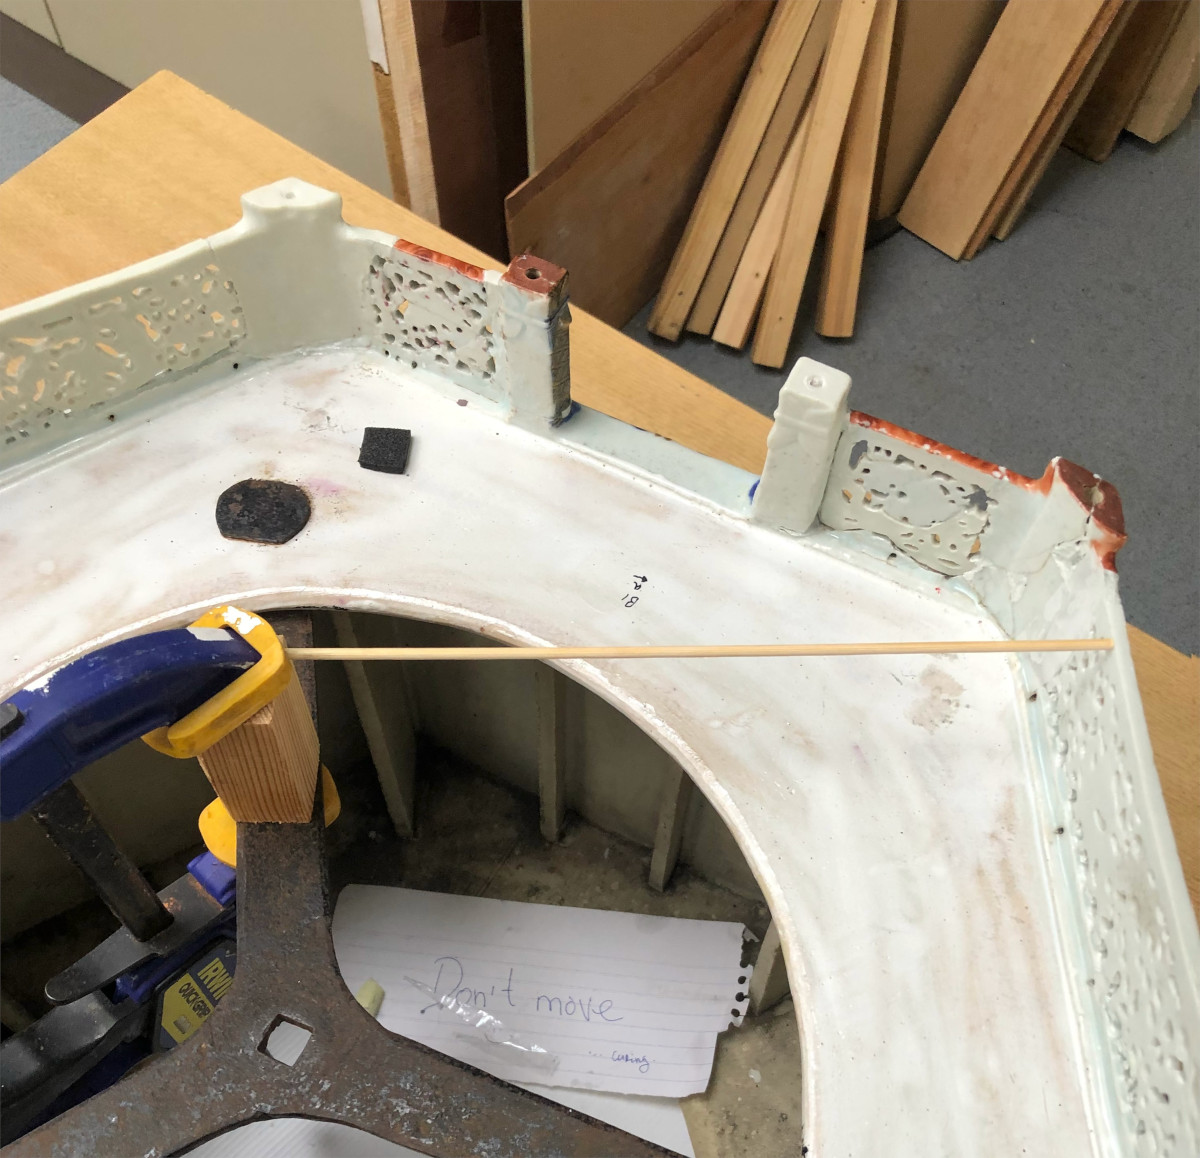
We started by incorporating the casts one by one and to ascertain the correct alignment and heights for the balustrades. For the first step we recreated the reconstruction using tape, plasticine, and wooden sticks to keep the casts in place.
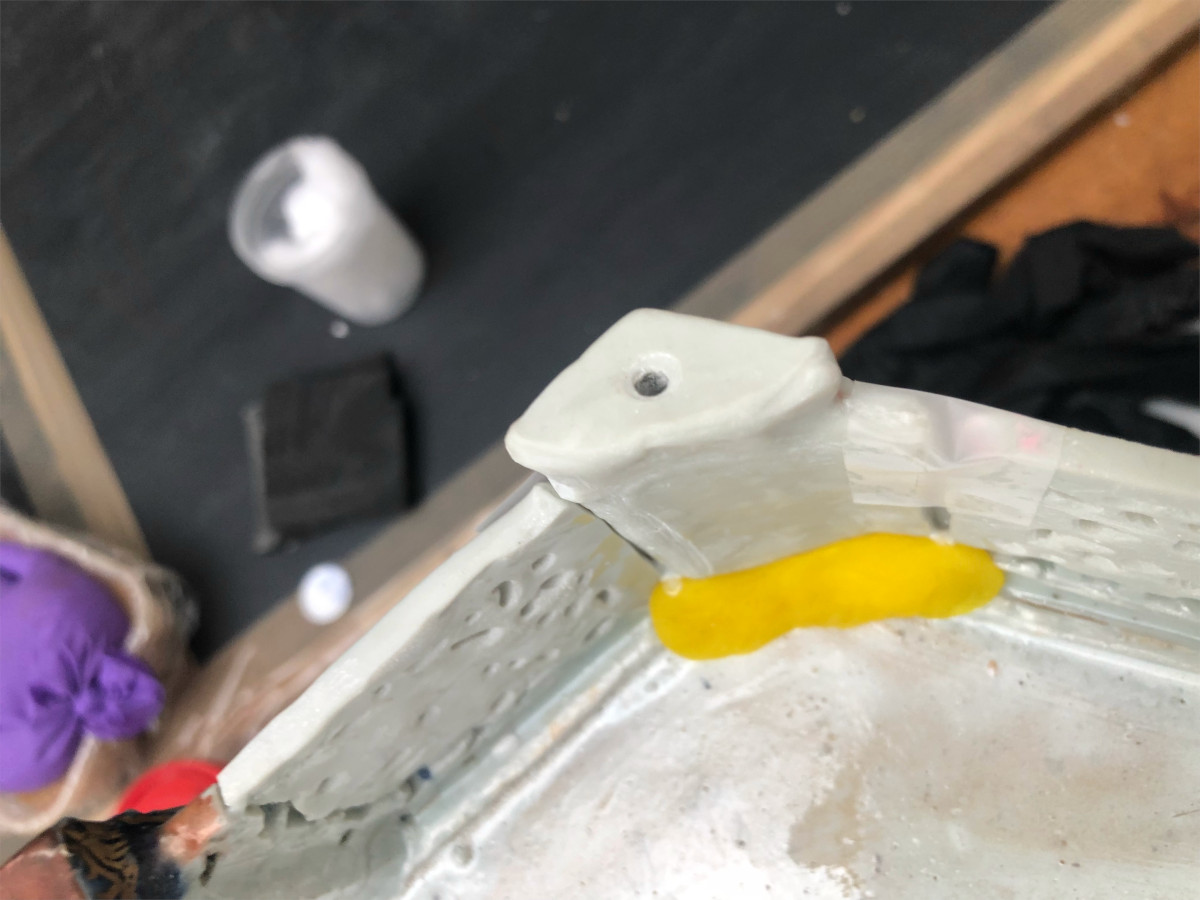
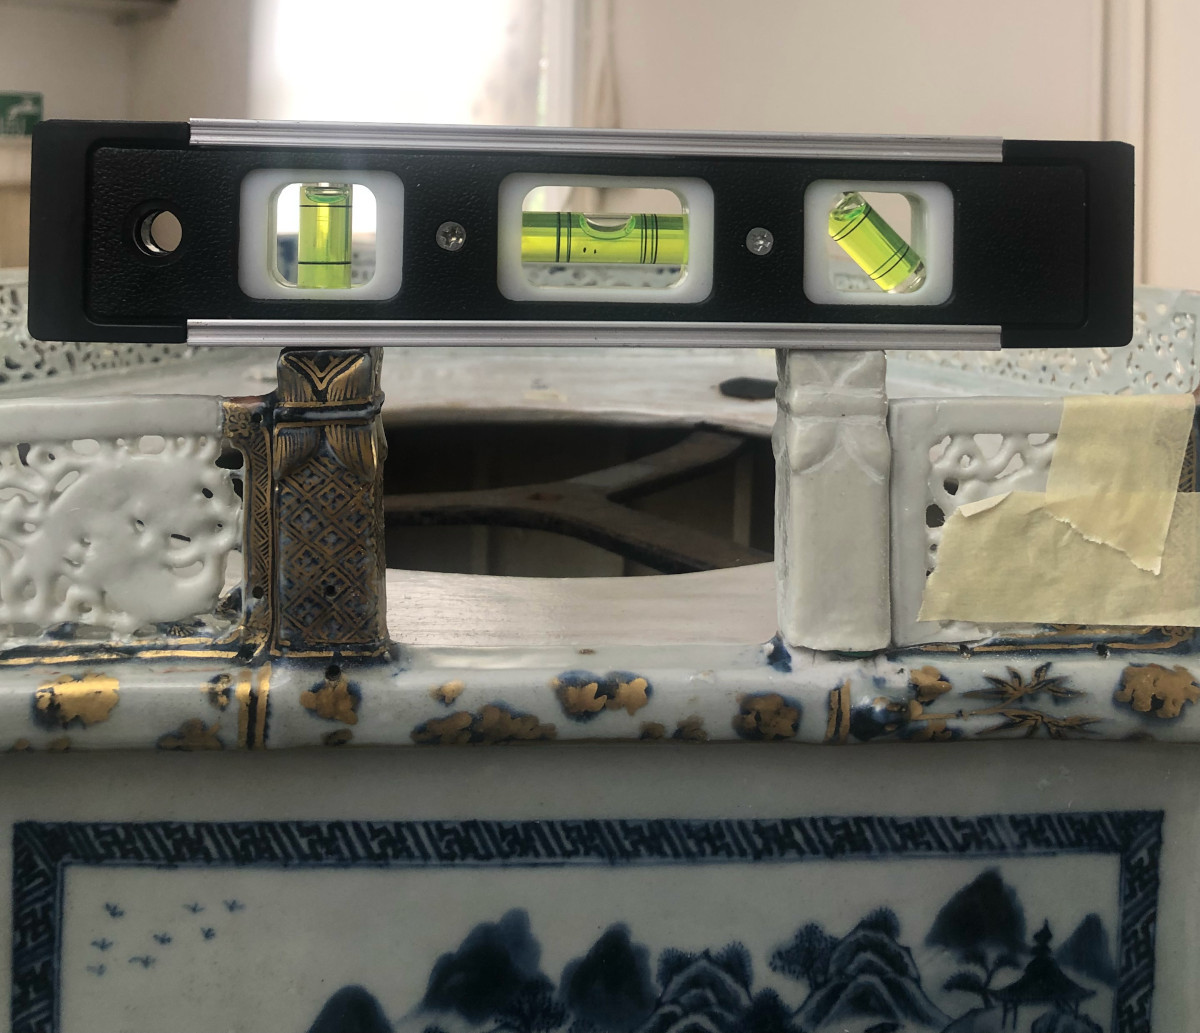

Once the optimal reconstruction was achieved, Hxtal putty was introduced in different structural points and left to cure.
This has reduced the amount of tape needed to secure casts in place increasing visibility, workability and strengthened the stability of the casts during this process.
We also made use of the slow-curing characteristic of the epoxy resin by using heat to slightly mould the casts to the ceramic body by either immersing the casts in hot water pre-adhesion or using a blow dryer after adhesion and curing.
After this first cure, we infilled all the remaining gaps that needed free handed reconstruction with Hxtal putty. We smoothened the resin surface using an array of spatulas, syringes, small brushes, acetone and melinex film.

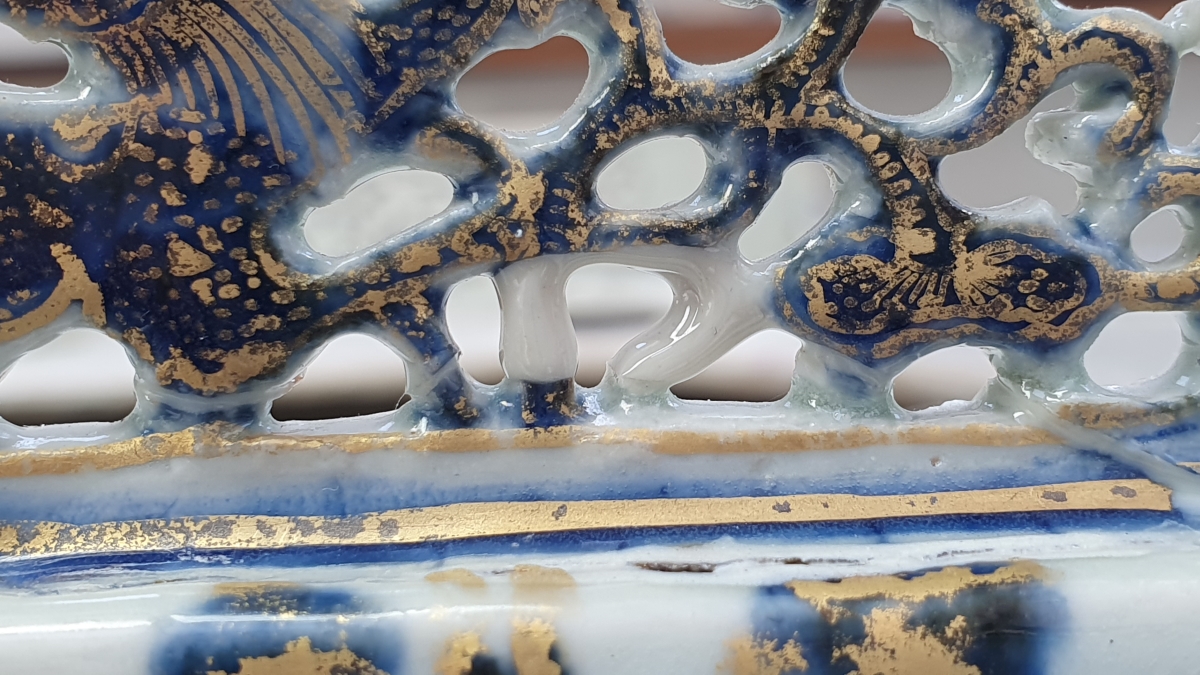


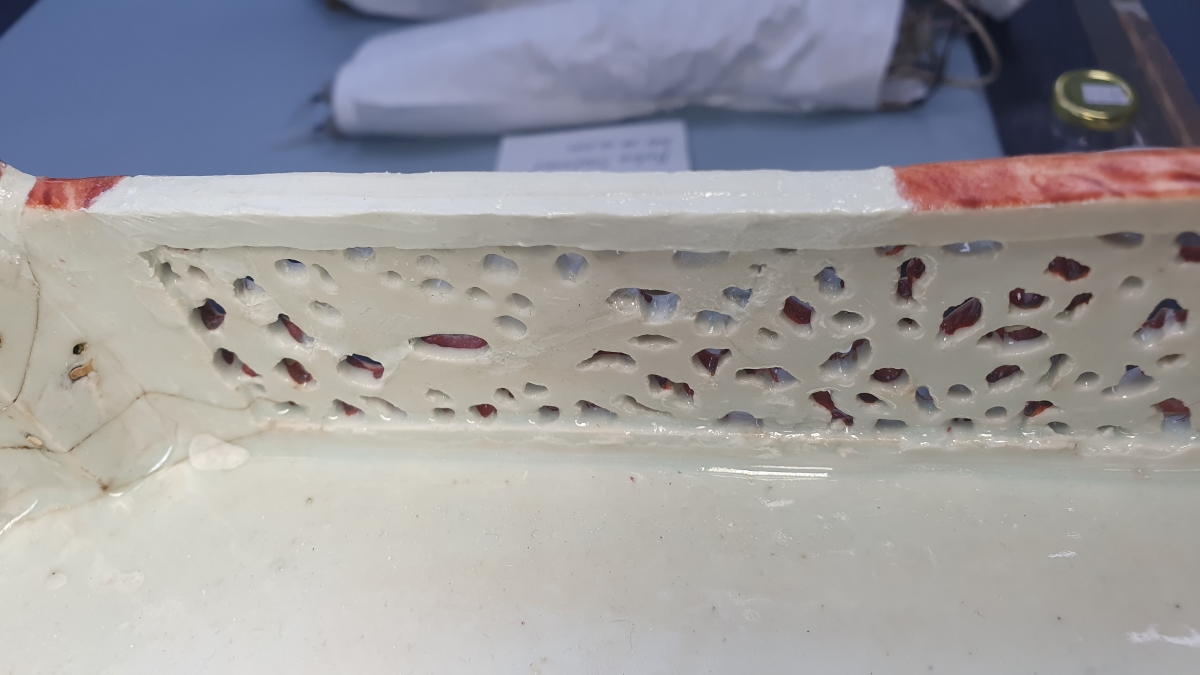
After the final cure we proceeded with the refining.
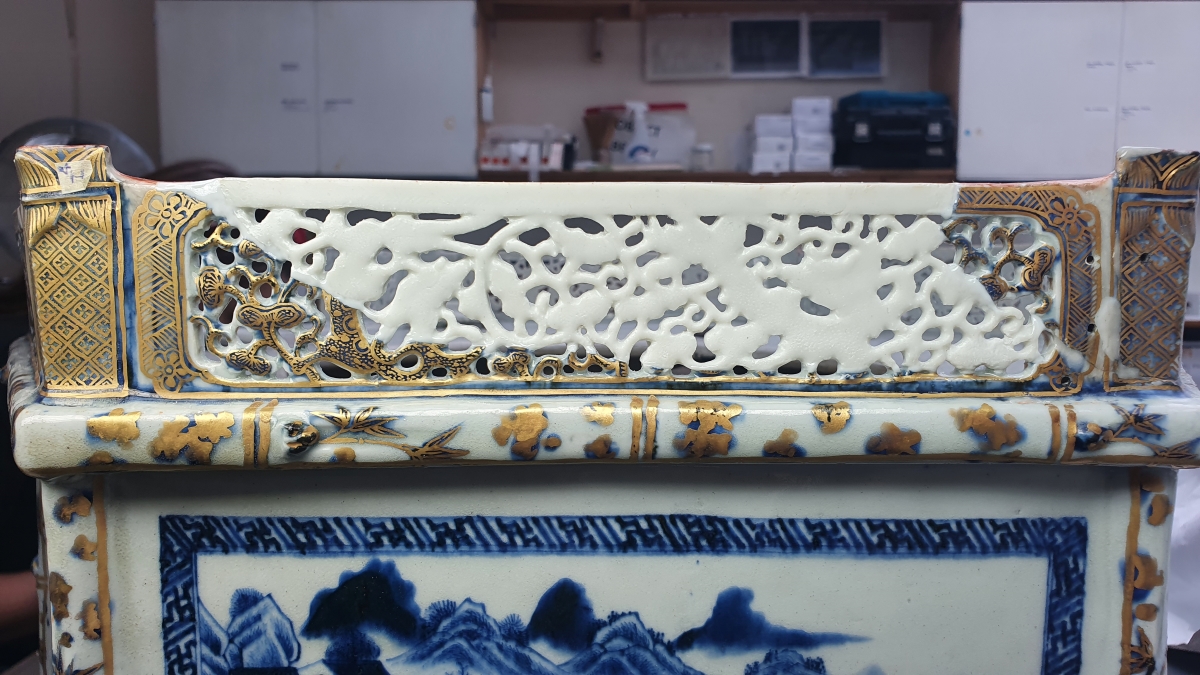
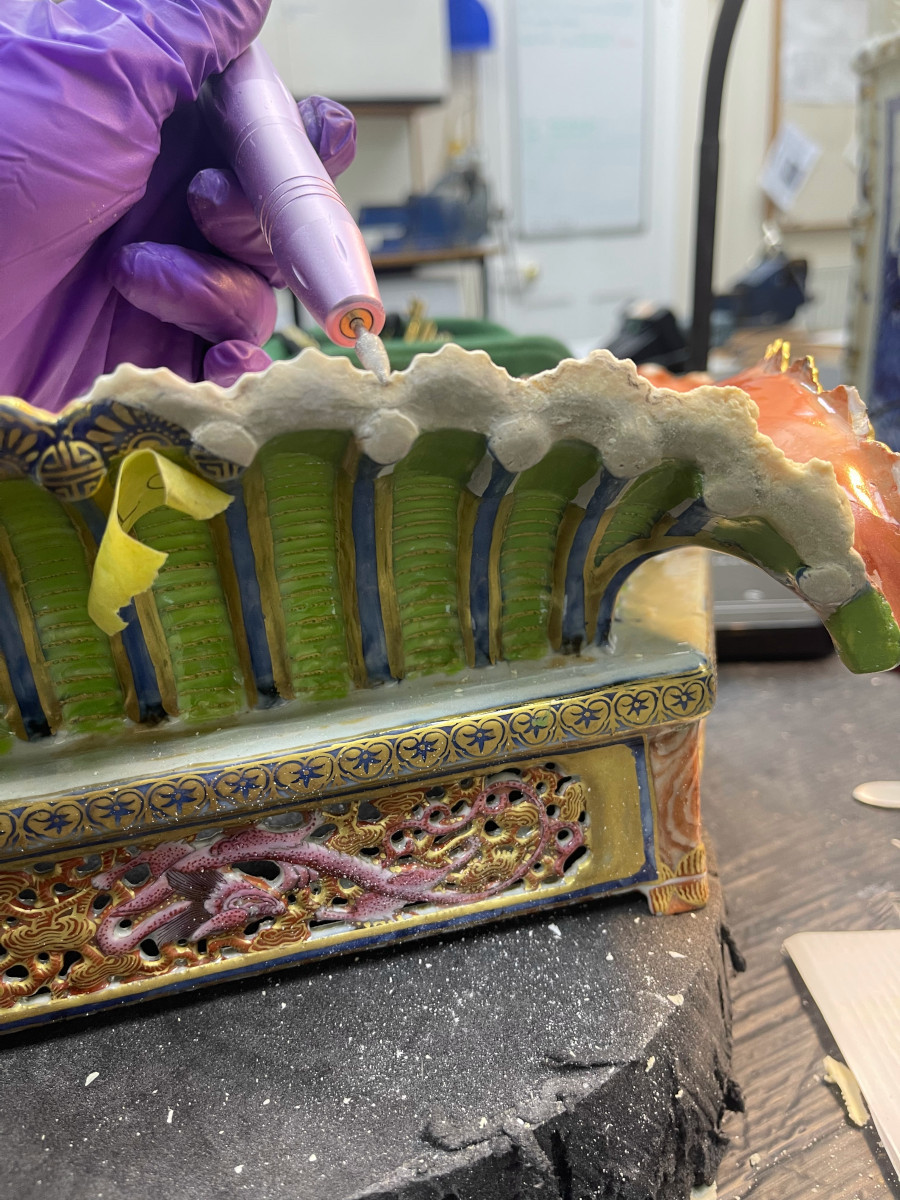
Refining is a very important and meticulous process to achieve a homogenous texture throughout and to visually blend the casts into the porcelain. Refining is the last preparation to perfect what will be the ground layer to the next stage: the inpainting.
We used electric nail filers with different size attachments which permitted us to refine in great detail. A final finishing was done with glass paper and micro-mesh of increasing grades to achieve a smooth shiny finish to mimic the ceramic body.
Stage 3 – Polyester resin refinement & modulation
On a number of tiers of the pagodas, some polyester resin casts had been made and attached by a previous conservator.
This material has been replaced in ceramics conservation over time by clear epoxies such as Hxtal, but at the time was a viable and simple to work with option.
Some of these casts needed some refinement so we decided the best course of action was to treat like with like, and refine and add material using a similar polyester resin product.

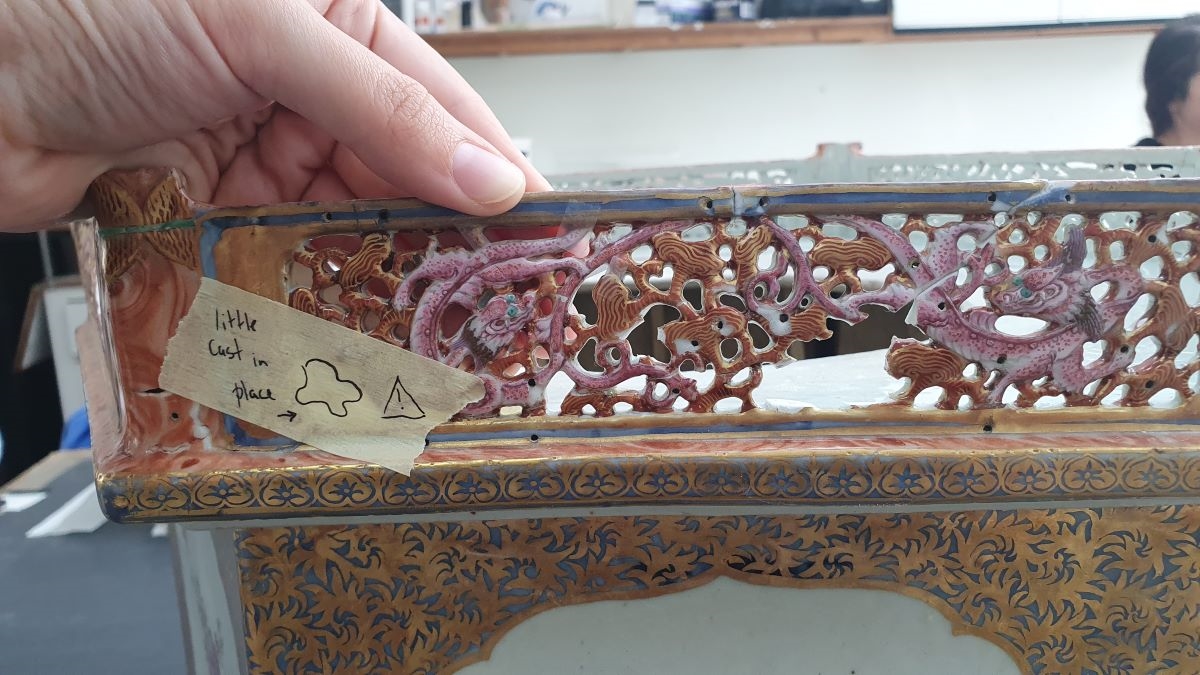
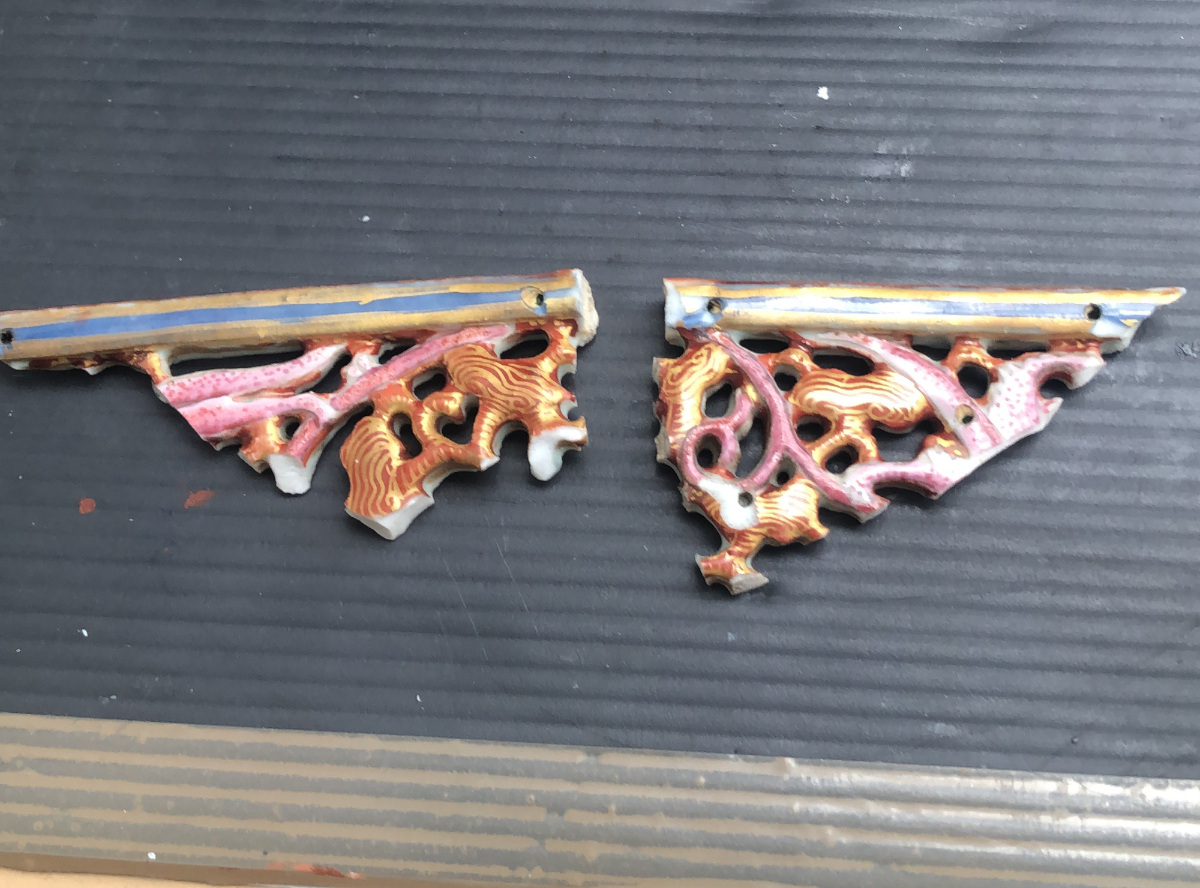
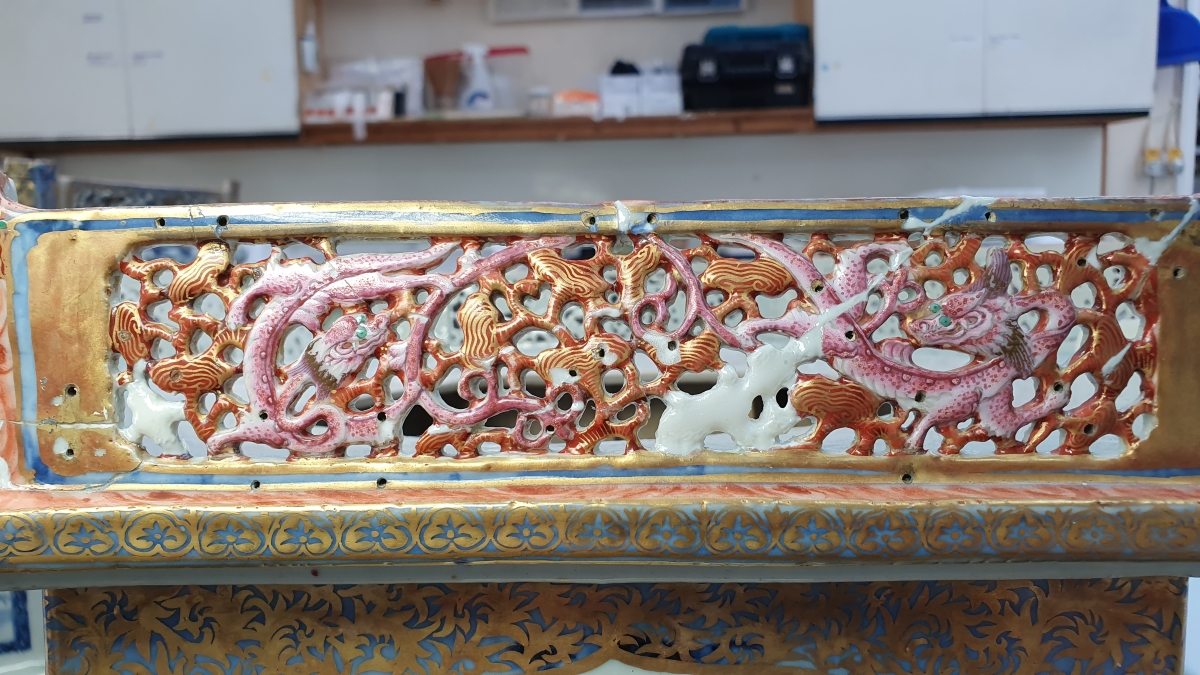
This was mostly prominent in some casts of the balustrades, some tips to the roof tiers and the small dragons which sit on the finials.
The product we used cured much faster than the Hxtal epoxy, it only took 30 minutes or less to cure as opposed to one week. It was a much faster refinement process and could be done in one sitting, which was a huge time advantage.
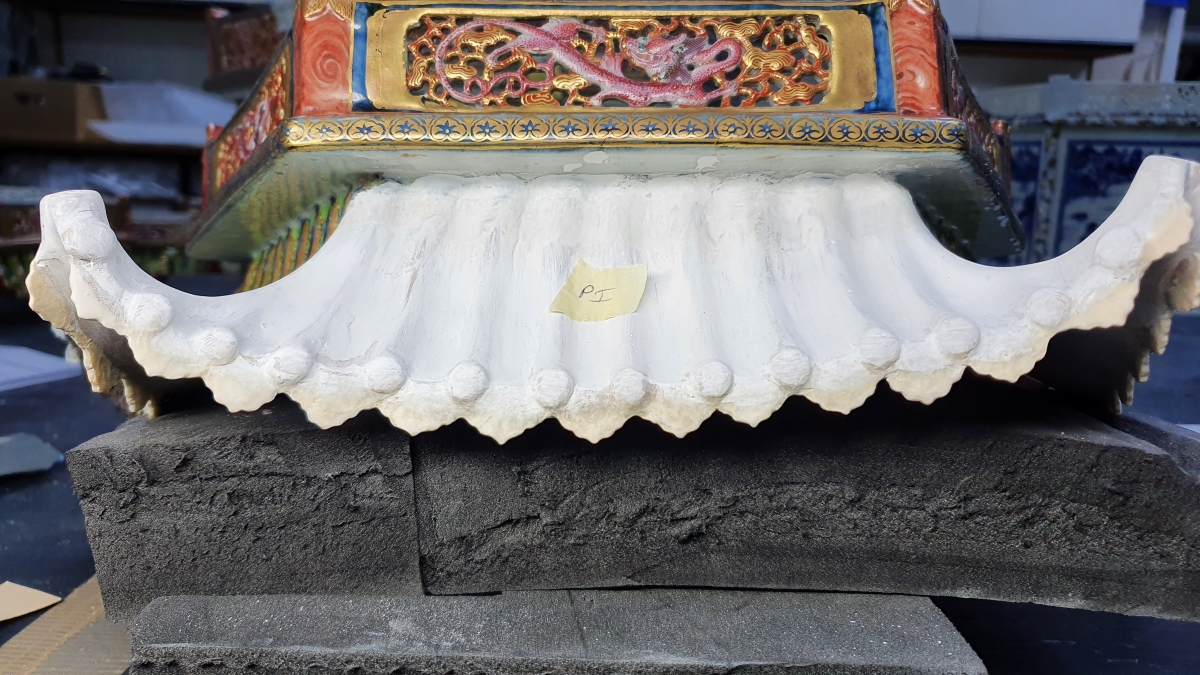


We modulated the polyester resin into proper shape using spatulas and brushes, then once cured we could carve and file into the resin to refine the shapes.
This reconstruction and refinement phase of the Pagoda project has been the longest yet. Attention to detail where our added material meets the original porcelain surface is very important and will affect the finish once layers of paint are added on top.
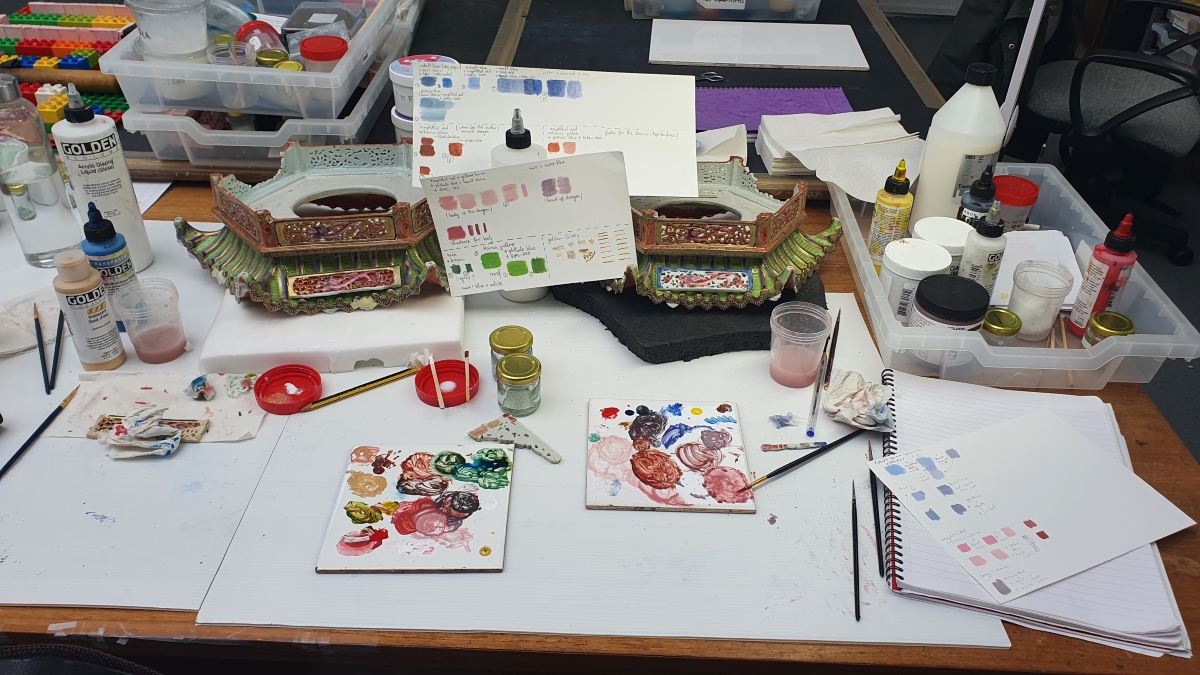
The next stage is the inpainting, which we have already begun!
We are nearing the end of this exciting project, and our next post will explore the intricacies of imitating the intricate detail work which went into crafting these Pagodas when they were made.
Here is a sneak peek of our inpainting and colour-matching set up, we look forward to showing you more soon.